How to take cuttings from your Dahlia tubers
A STEP-BY-STEP GUIDE FOR BEGINNERS
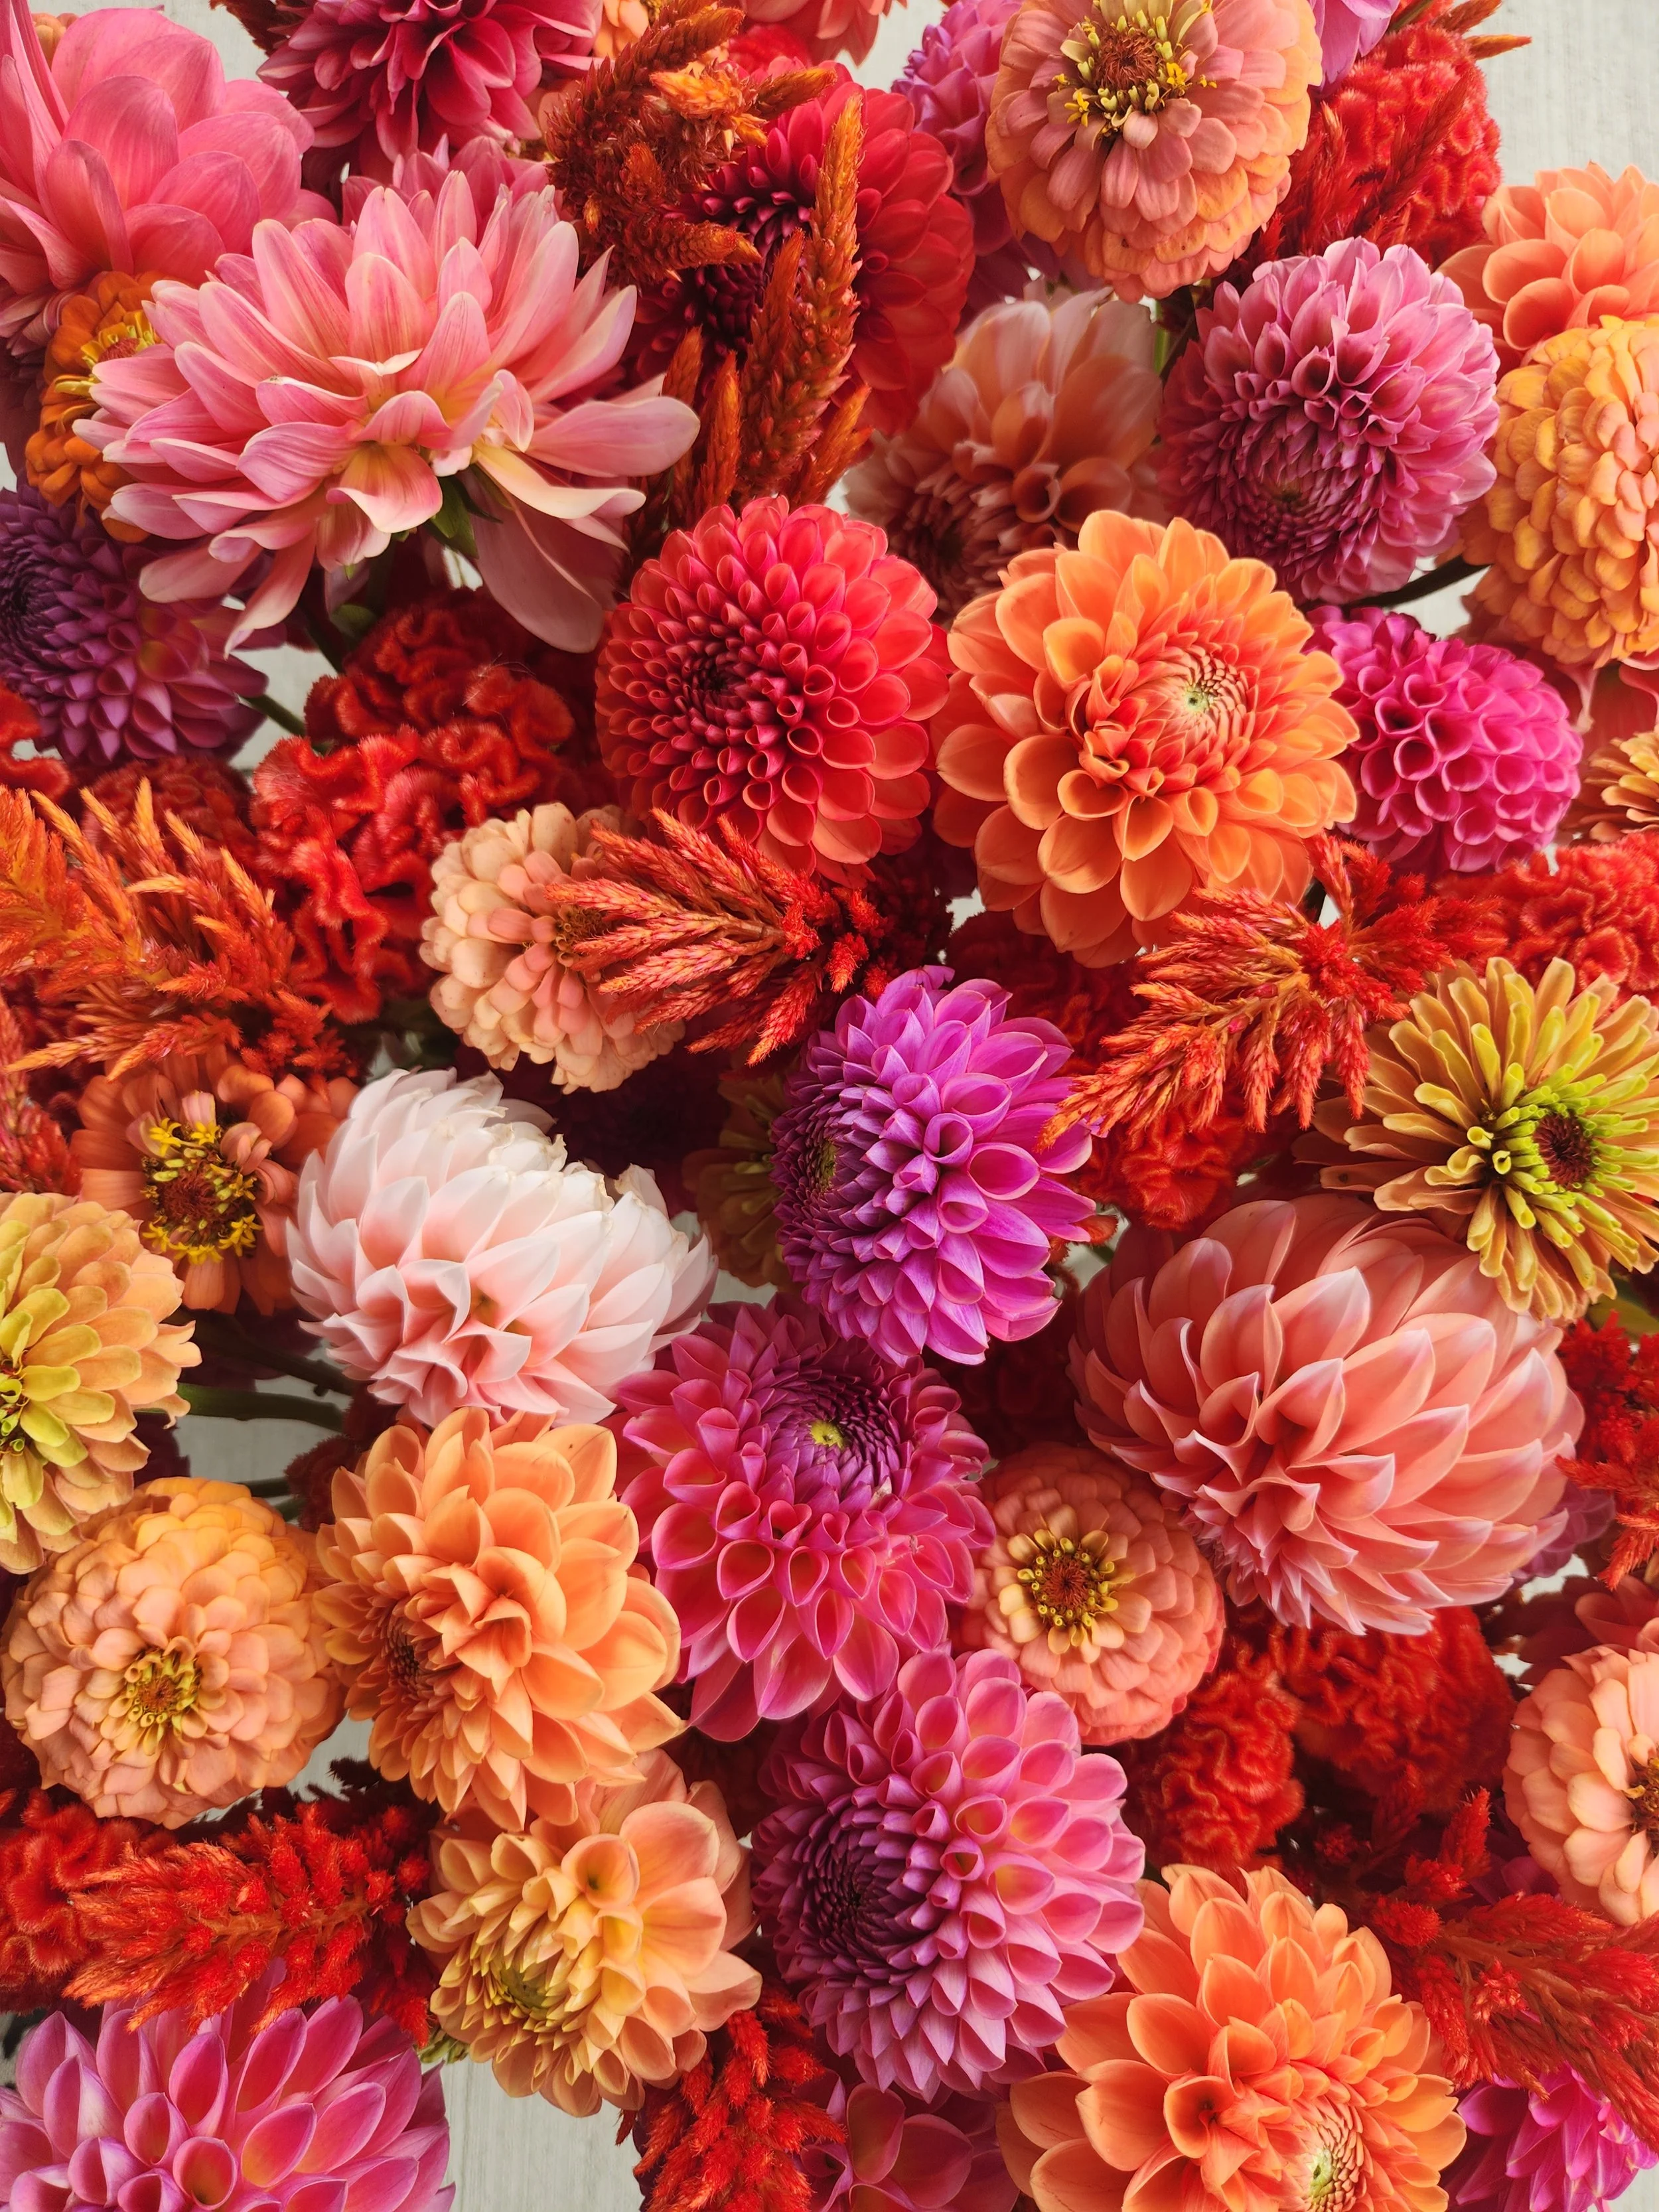
Do want to expand your Dahlia collection, but don’t want to pay the cost for all those dahlia tubers? There is a simple method for multiplying your Dahlia collection exponentially without having to shell out lots of money for more tubers. It is propagating or taking ‘cuttings’ from your current dahlia tubers that are being stored over winter. I’ve been propagating our Dahlia collection by taking cuttings for 3 years and I’ve worked out the kinks, pitfalls and failures to now have method that has proven successful here on our Wisconsin farm. Everyone might have their own methods that work for them, and this is not the only way to do it, but its what works beautifully for us. Here’s exactly how I propagate (take cuttings) from our dahlias
Step 1: When to take dahlia cuttings
You want to start the process about 3 to 3 ½ months before your last frost date in the spring. This ensures you have enough time to wake tubers, take cuttings, have the cuttings take root and grow a nice root system before planting out after all chance of frost is past. Tuber varieties vary in the time it takes to ‘wake up’ from 2 weeks up to 7 weeks in our experience. The vast majority of our collection starts waking up within 3 weeks but we do have stragglers that can take their time.
Step 2: What supplies you will need
Good quality potting soil (we use Fox Farm’s Ocean Forest)
Four-inch pots or plastic bins with a few holes drilled underneath (for placing your tubers for cuttings)
Root riot cubes (optional)
Grow lights (simple ones you can get at the hardware store)
Plant tags
Soil temperature gauge (these work great)
Seed cells and trays (we use 50 cells)
Humidity domes
Step 3: Waking up tubers
We wake our tubers up by putting them in potting soil in either a large plastic bin (we chose long ones that fits nicely on our seed starting shelves). For these bins, we drill small holes in the bottom for drainage. For some tubers, we use 4 inches pots. Tubers are placed either at a 45 degree angle or straight up - it really depends on the size and shape of the tuber. We place the tuber so that only the crown is sticking out. We try to avoid tubers with very skinny necks (to mitigate risk of them drying out) when possible. However, if you only have 1 or 2 of a variety, and that’s the tuber you have, you just go with it! Just makes sure the neck is covered up with soil to help prevent the drying out. An important step you cannot miss - make sure tubers are labelled! We write the names of the variety on the body of the tuber, but also we write the name and date the cutting process starts on a plant label tag and place the tag very closely against the tuber.
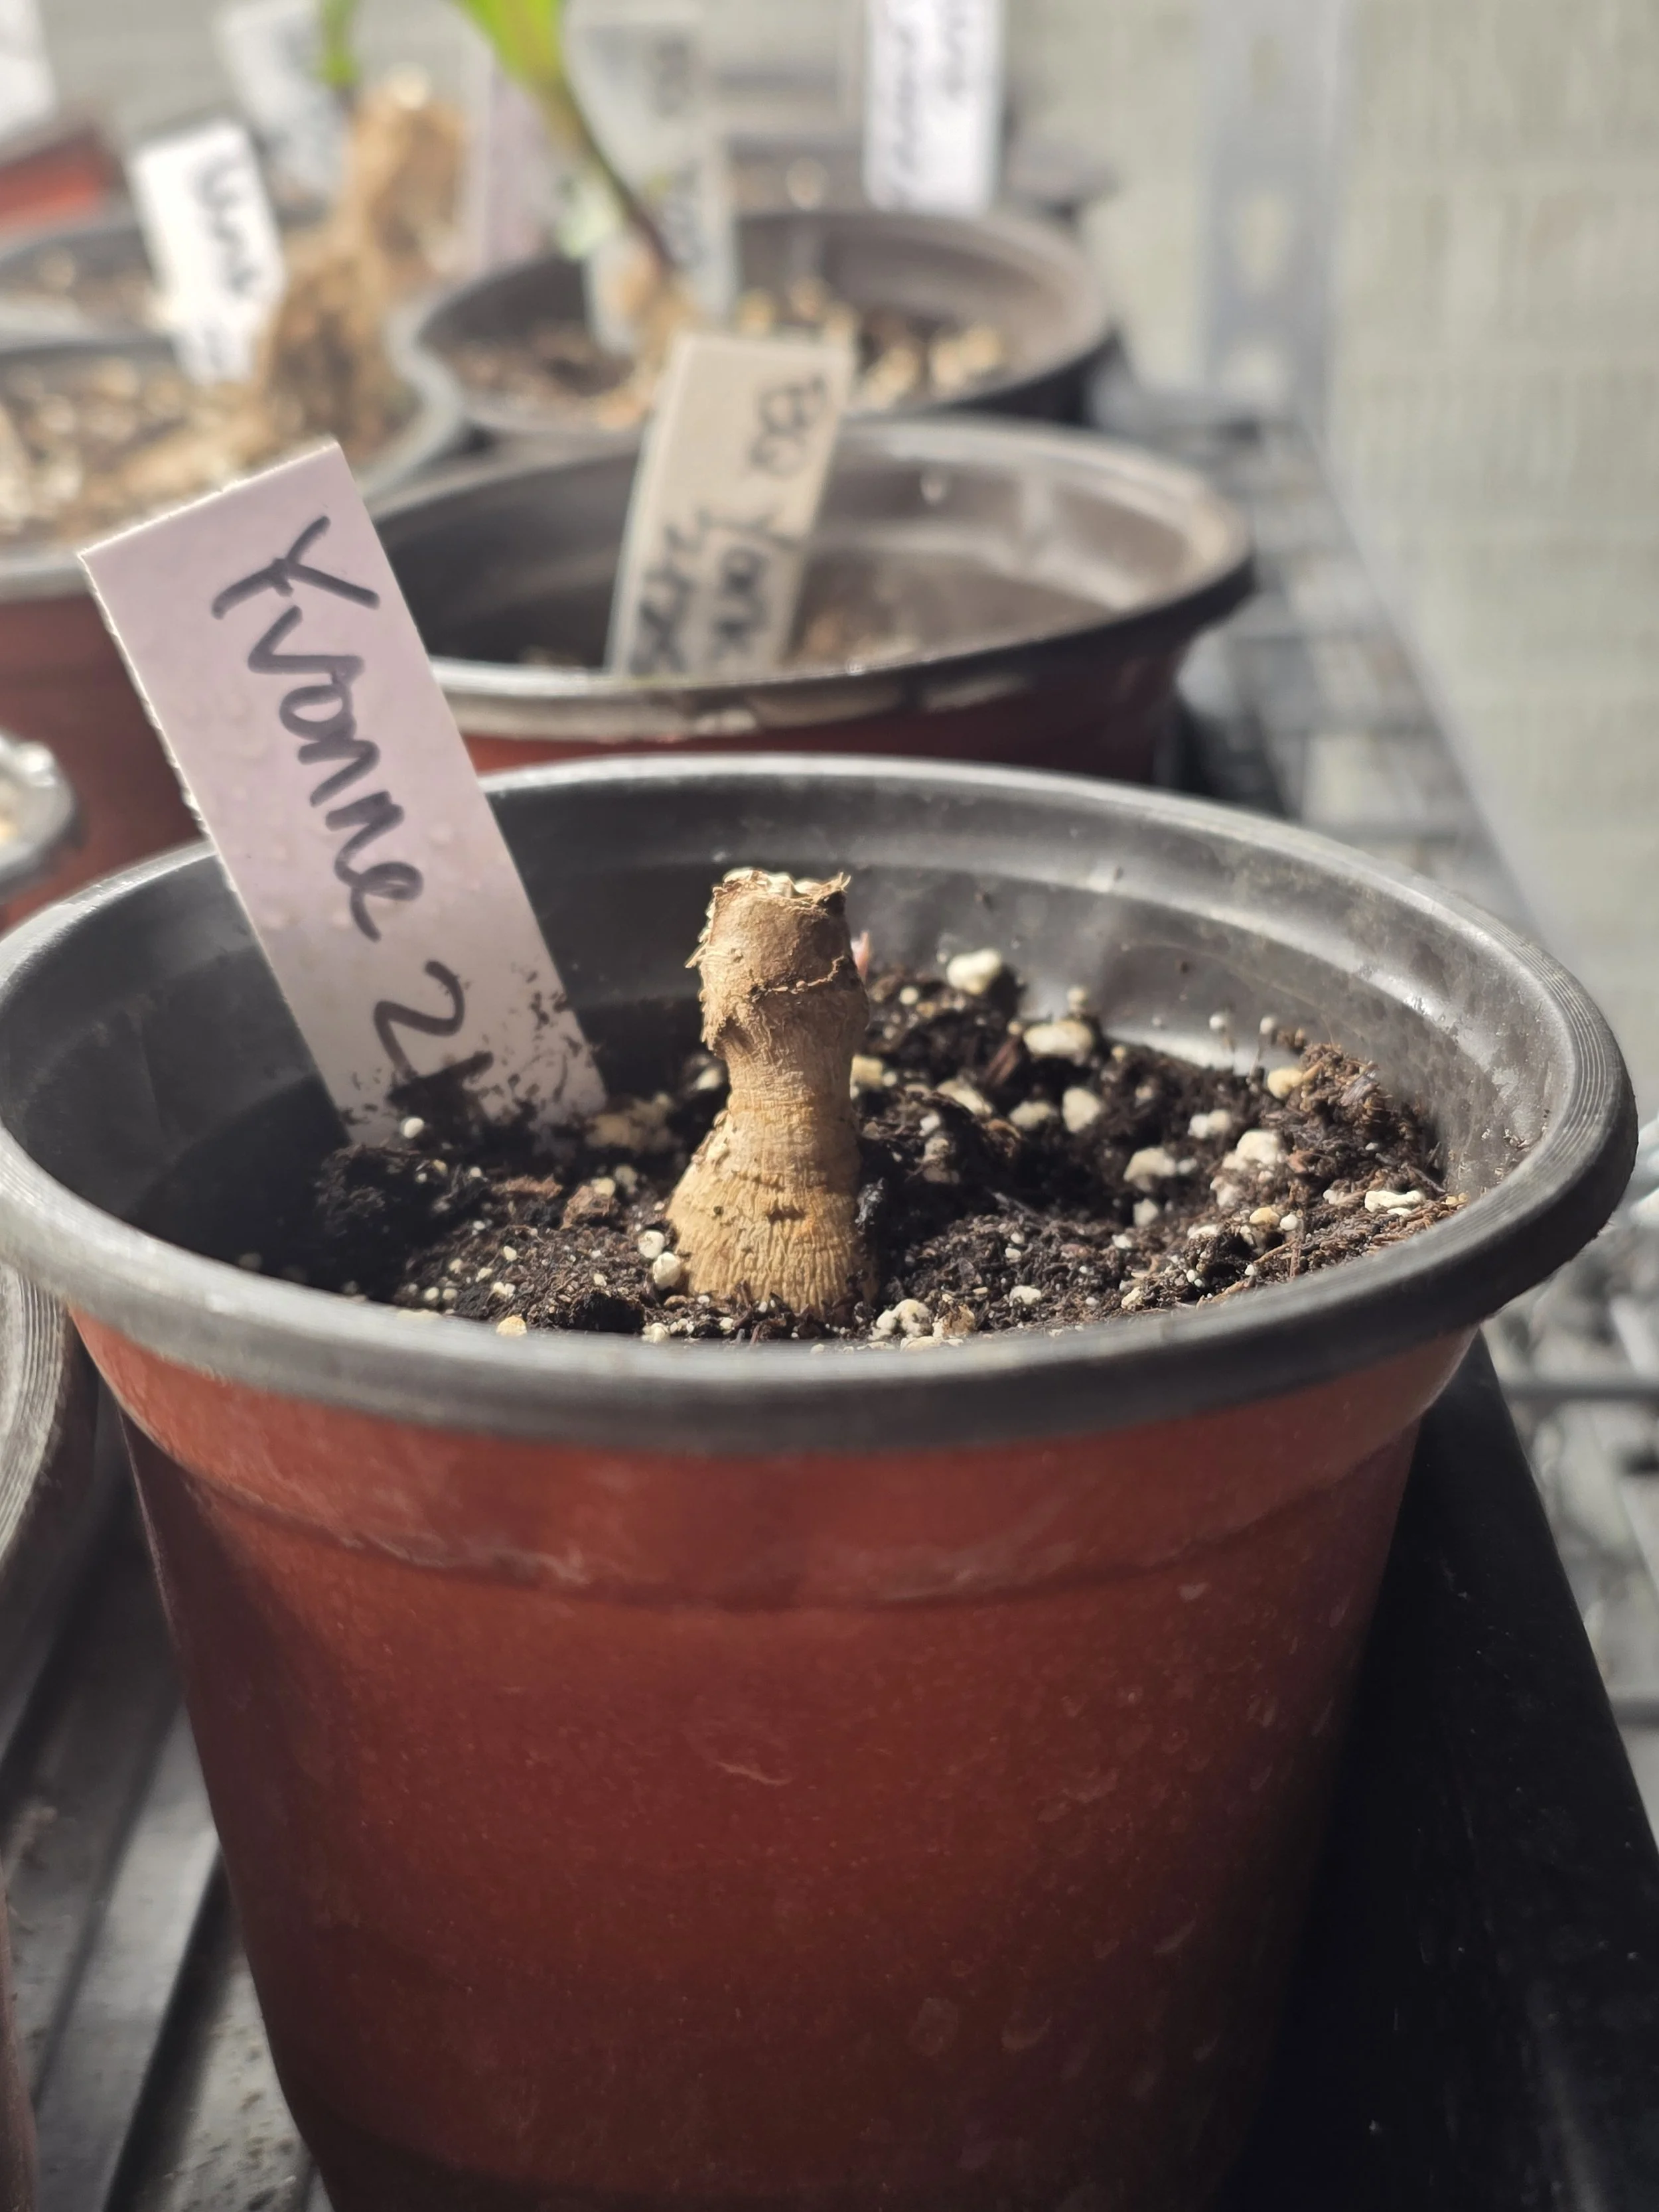
A dahlia tuber in a 4 inch pot
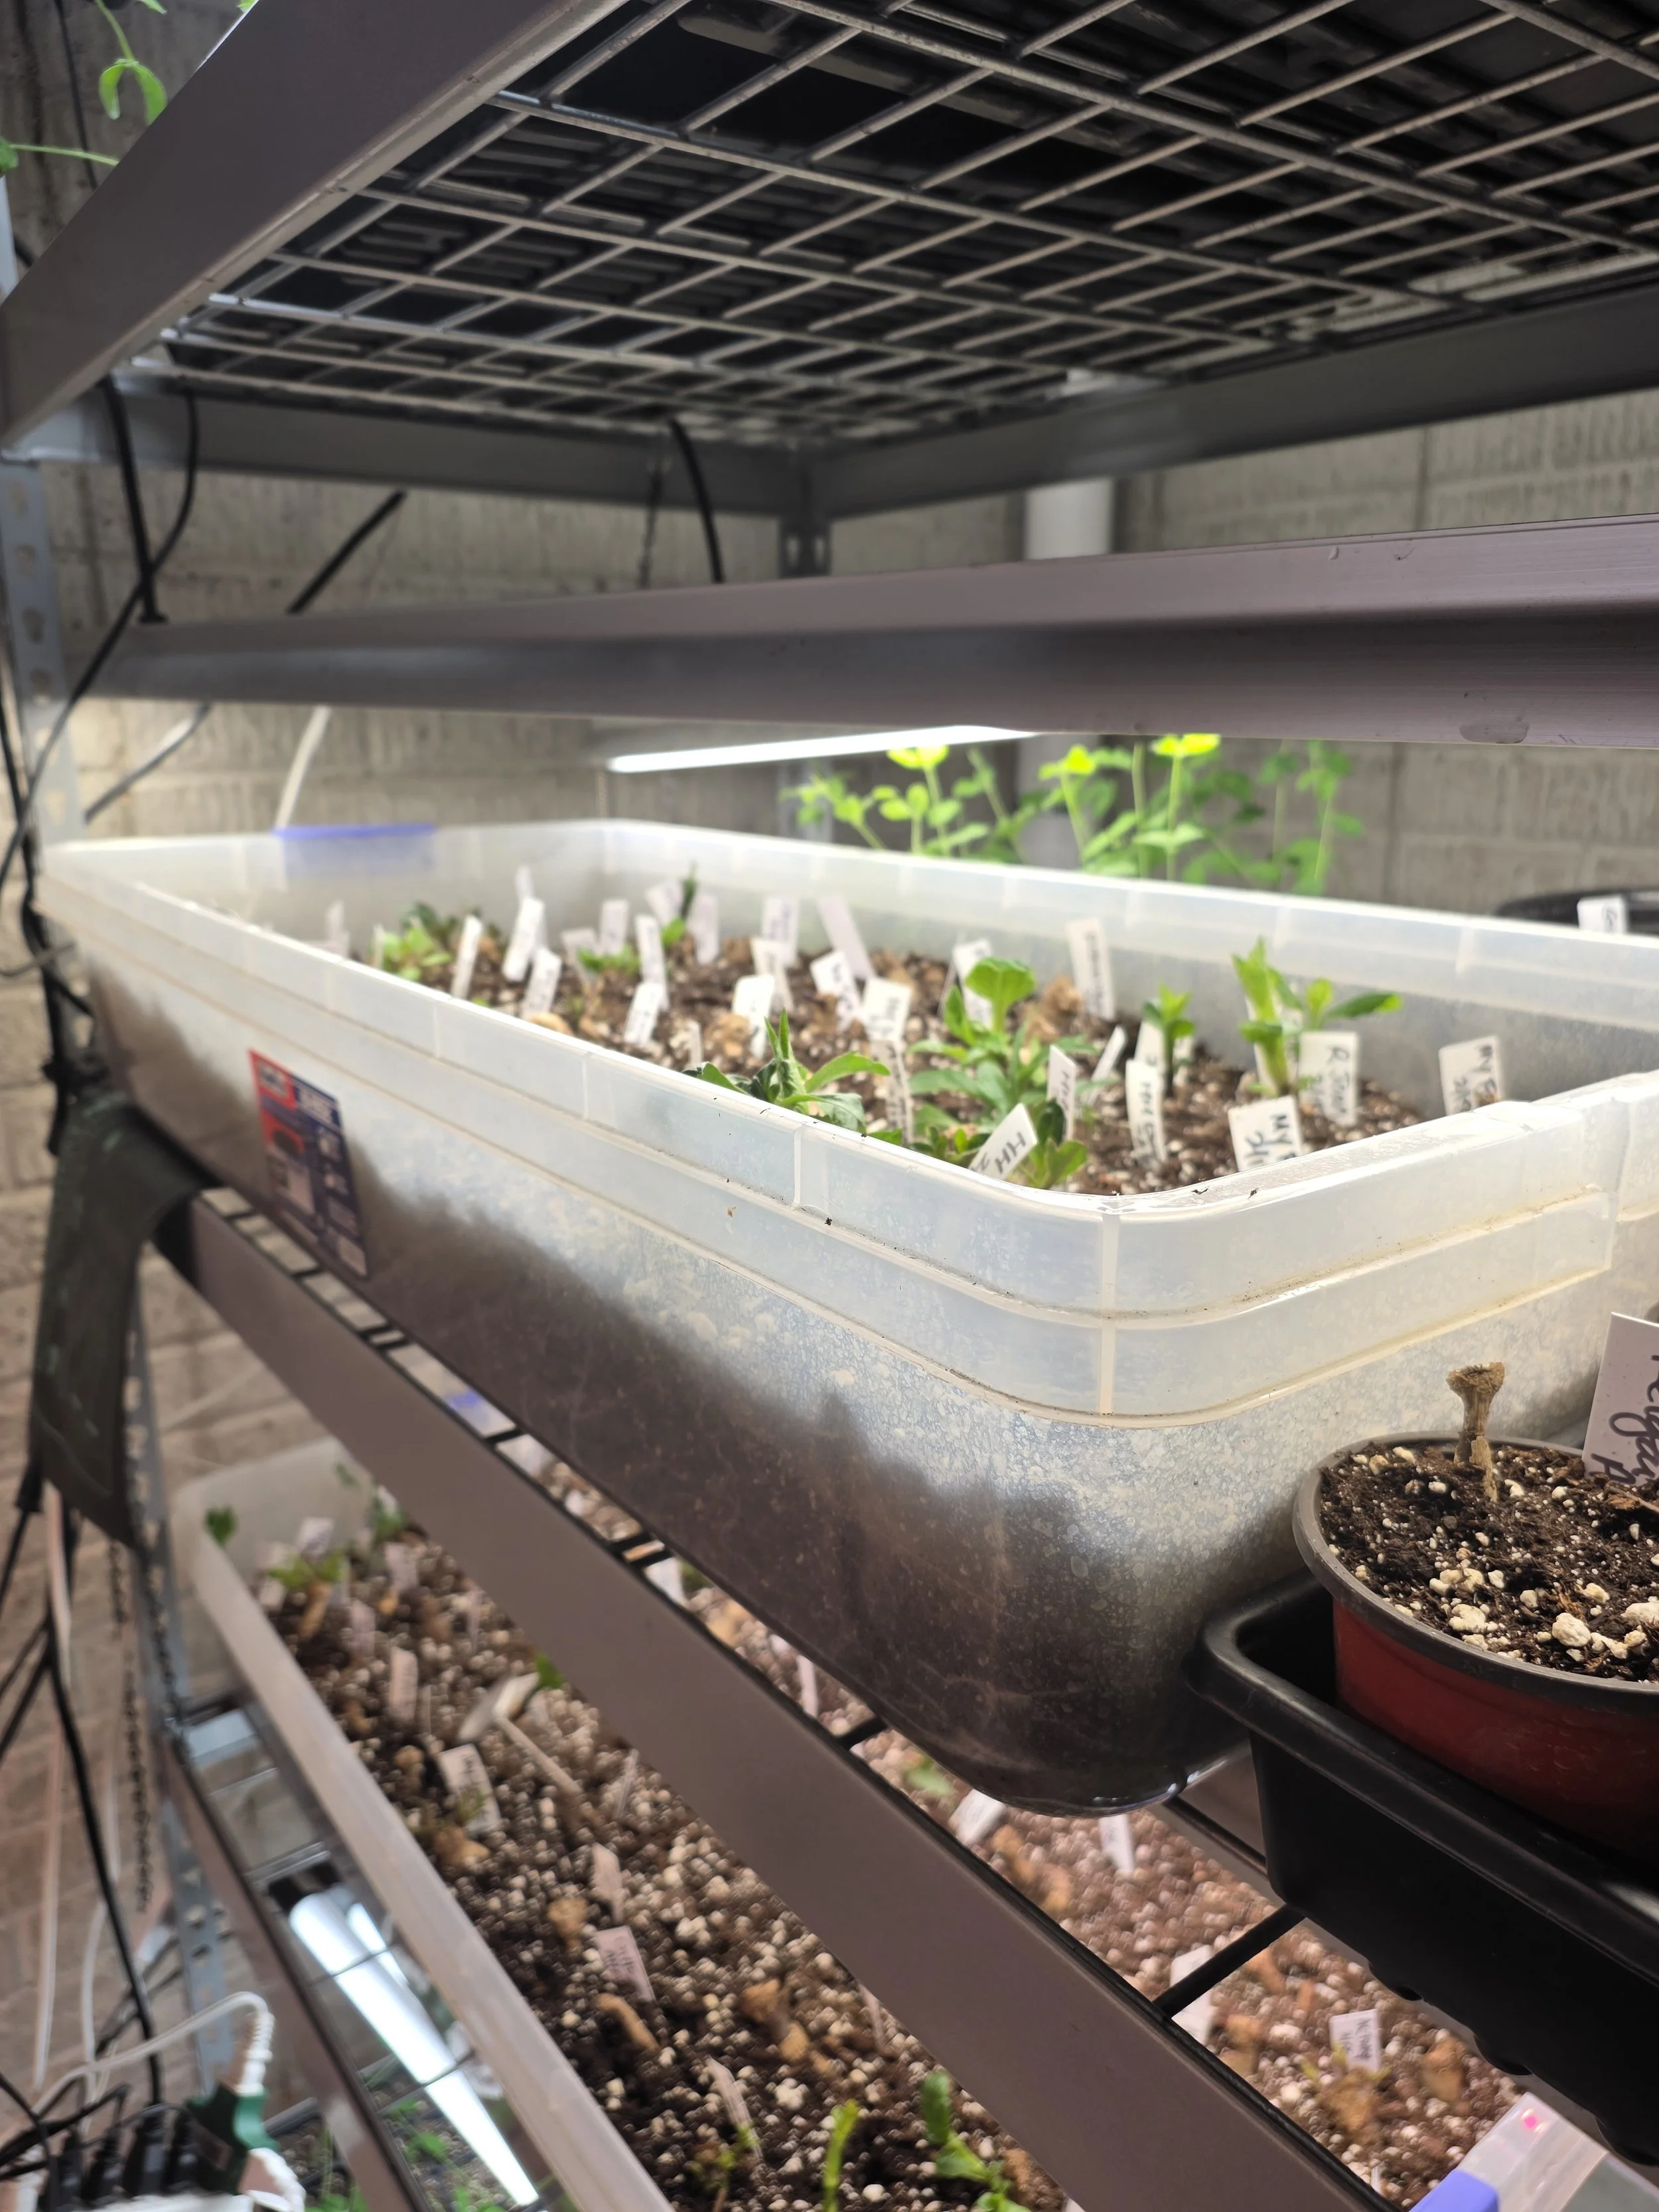
Dahlia tubers in a large plastic bin
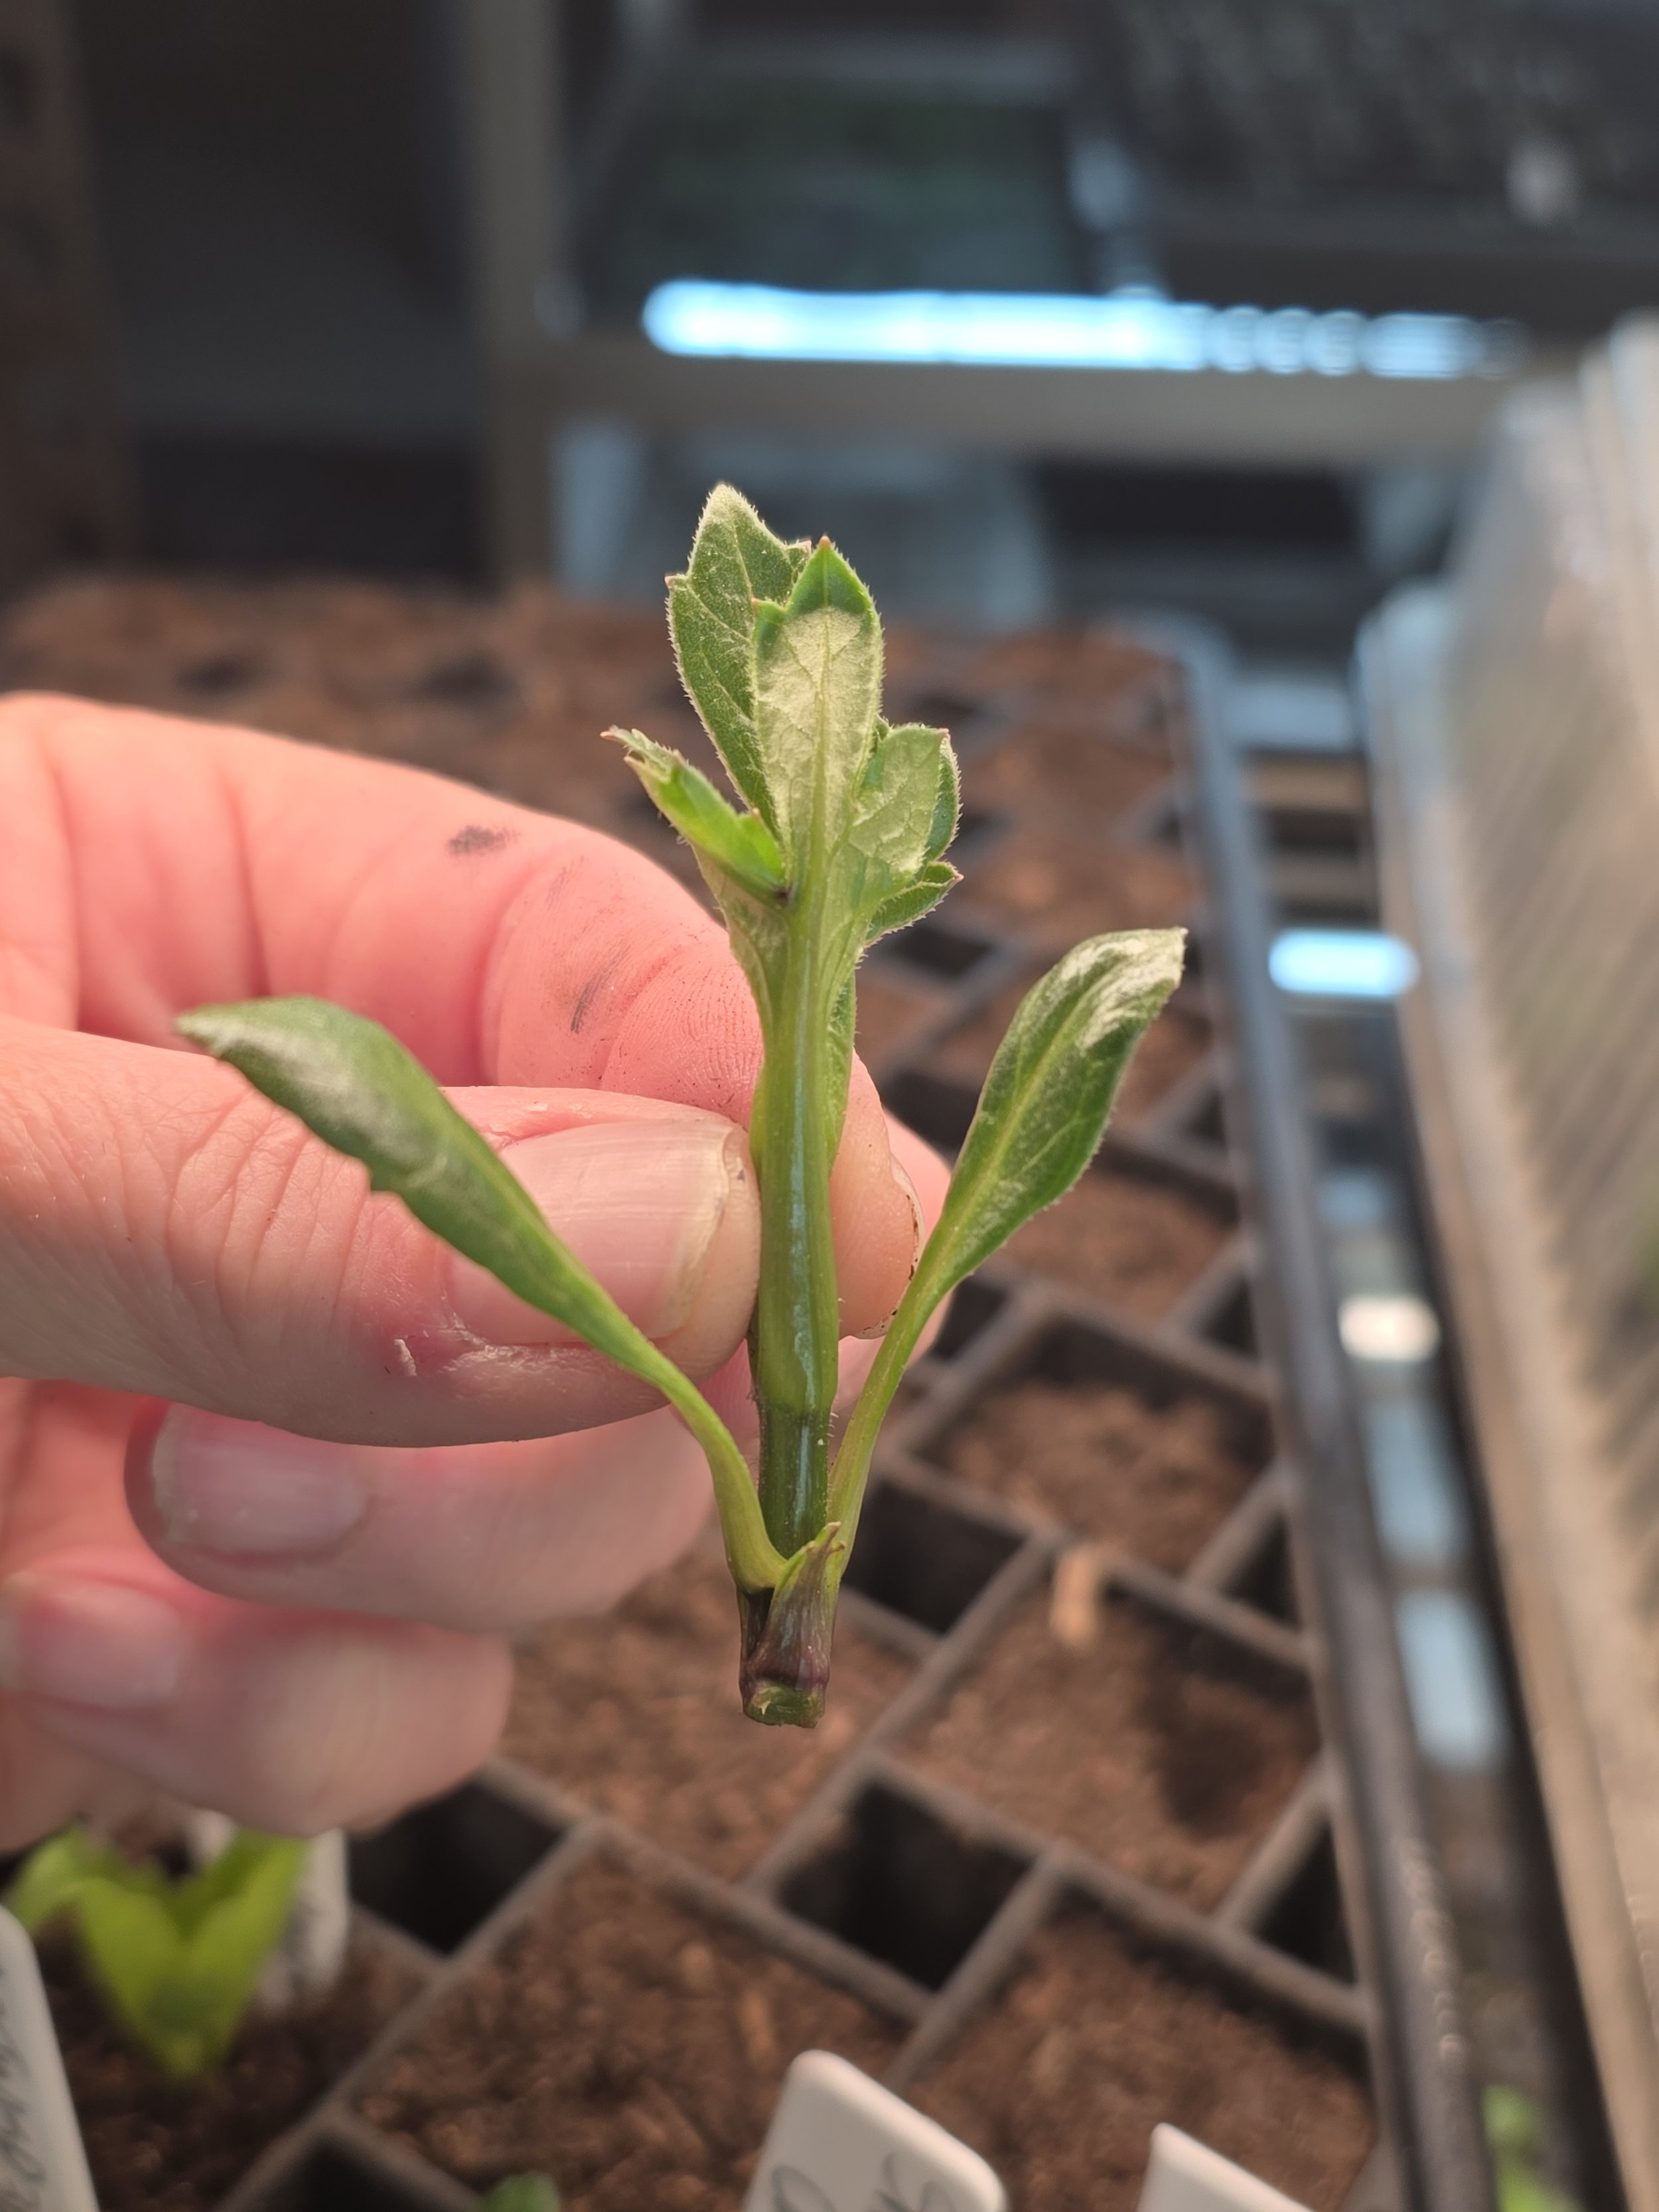
Step 4 - Removing the sprout
Once you position your tubers in the potting soil in which ever container you choose, they should be kept under grow lights. We turn on our lights around 7am, and they are turned off at 9pm (14 hours). Another important step that seems to help is placing seed starting heat mats underneath the containers to warm the soil. However, the soil temperature must be monitored. Soil temperature gauges are readily available and are inexpensive (the ones we use are ~$10 on Amazon). Soil temperature should not exceed 70 degrees, otherwise you run the risk of your tubers rotting. After tubers are under lights, seed starting mats in place with temperature gauges inserted into the soil (particularly if you use a large tub like we do), then give your tubers a ‘watering in’. We don’t mist the soil, but we water the soil so that all of it is moist. After that, we check the soil daily by inserting our finger inside the soil - if it is drying out, we add water (but not oversaturating it). Now, you wait. In our experience, the first tubers should starting eyeing up in about 2-3 weeks, with other to follow suit in the following weeks. Once tubers eye up, they will start sprouting leaves. Let the sprout grow until it has 3 sets of leaves on each side. At this point, you should remove the sprout from the tuber by either cleanly slicing if off the base (razors must be sterilized between tubers) or twisting it off in a slow, circular motion.
A tuber’s sprout ready to be removed
Step 5 - Preparing the cell trays for the cuttings
You’re going to be placing the sprout into potting soil to encourage growth of roots. We like 50 cells trays and use a sturdy brand from Bootstrap Farmer that can be found here. Fill the tray with pre-moistened potting soil and place it on a tray, then on a heat mat, again under lights
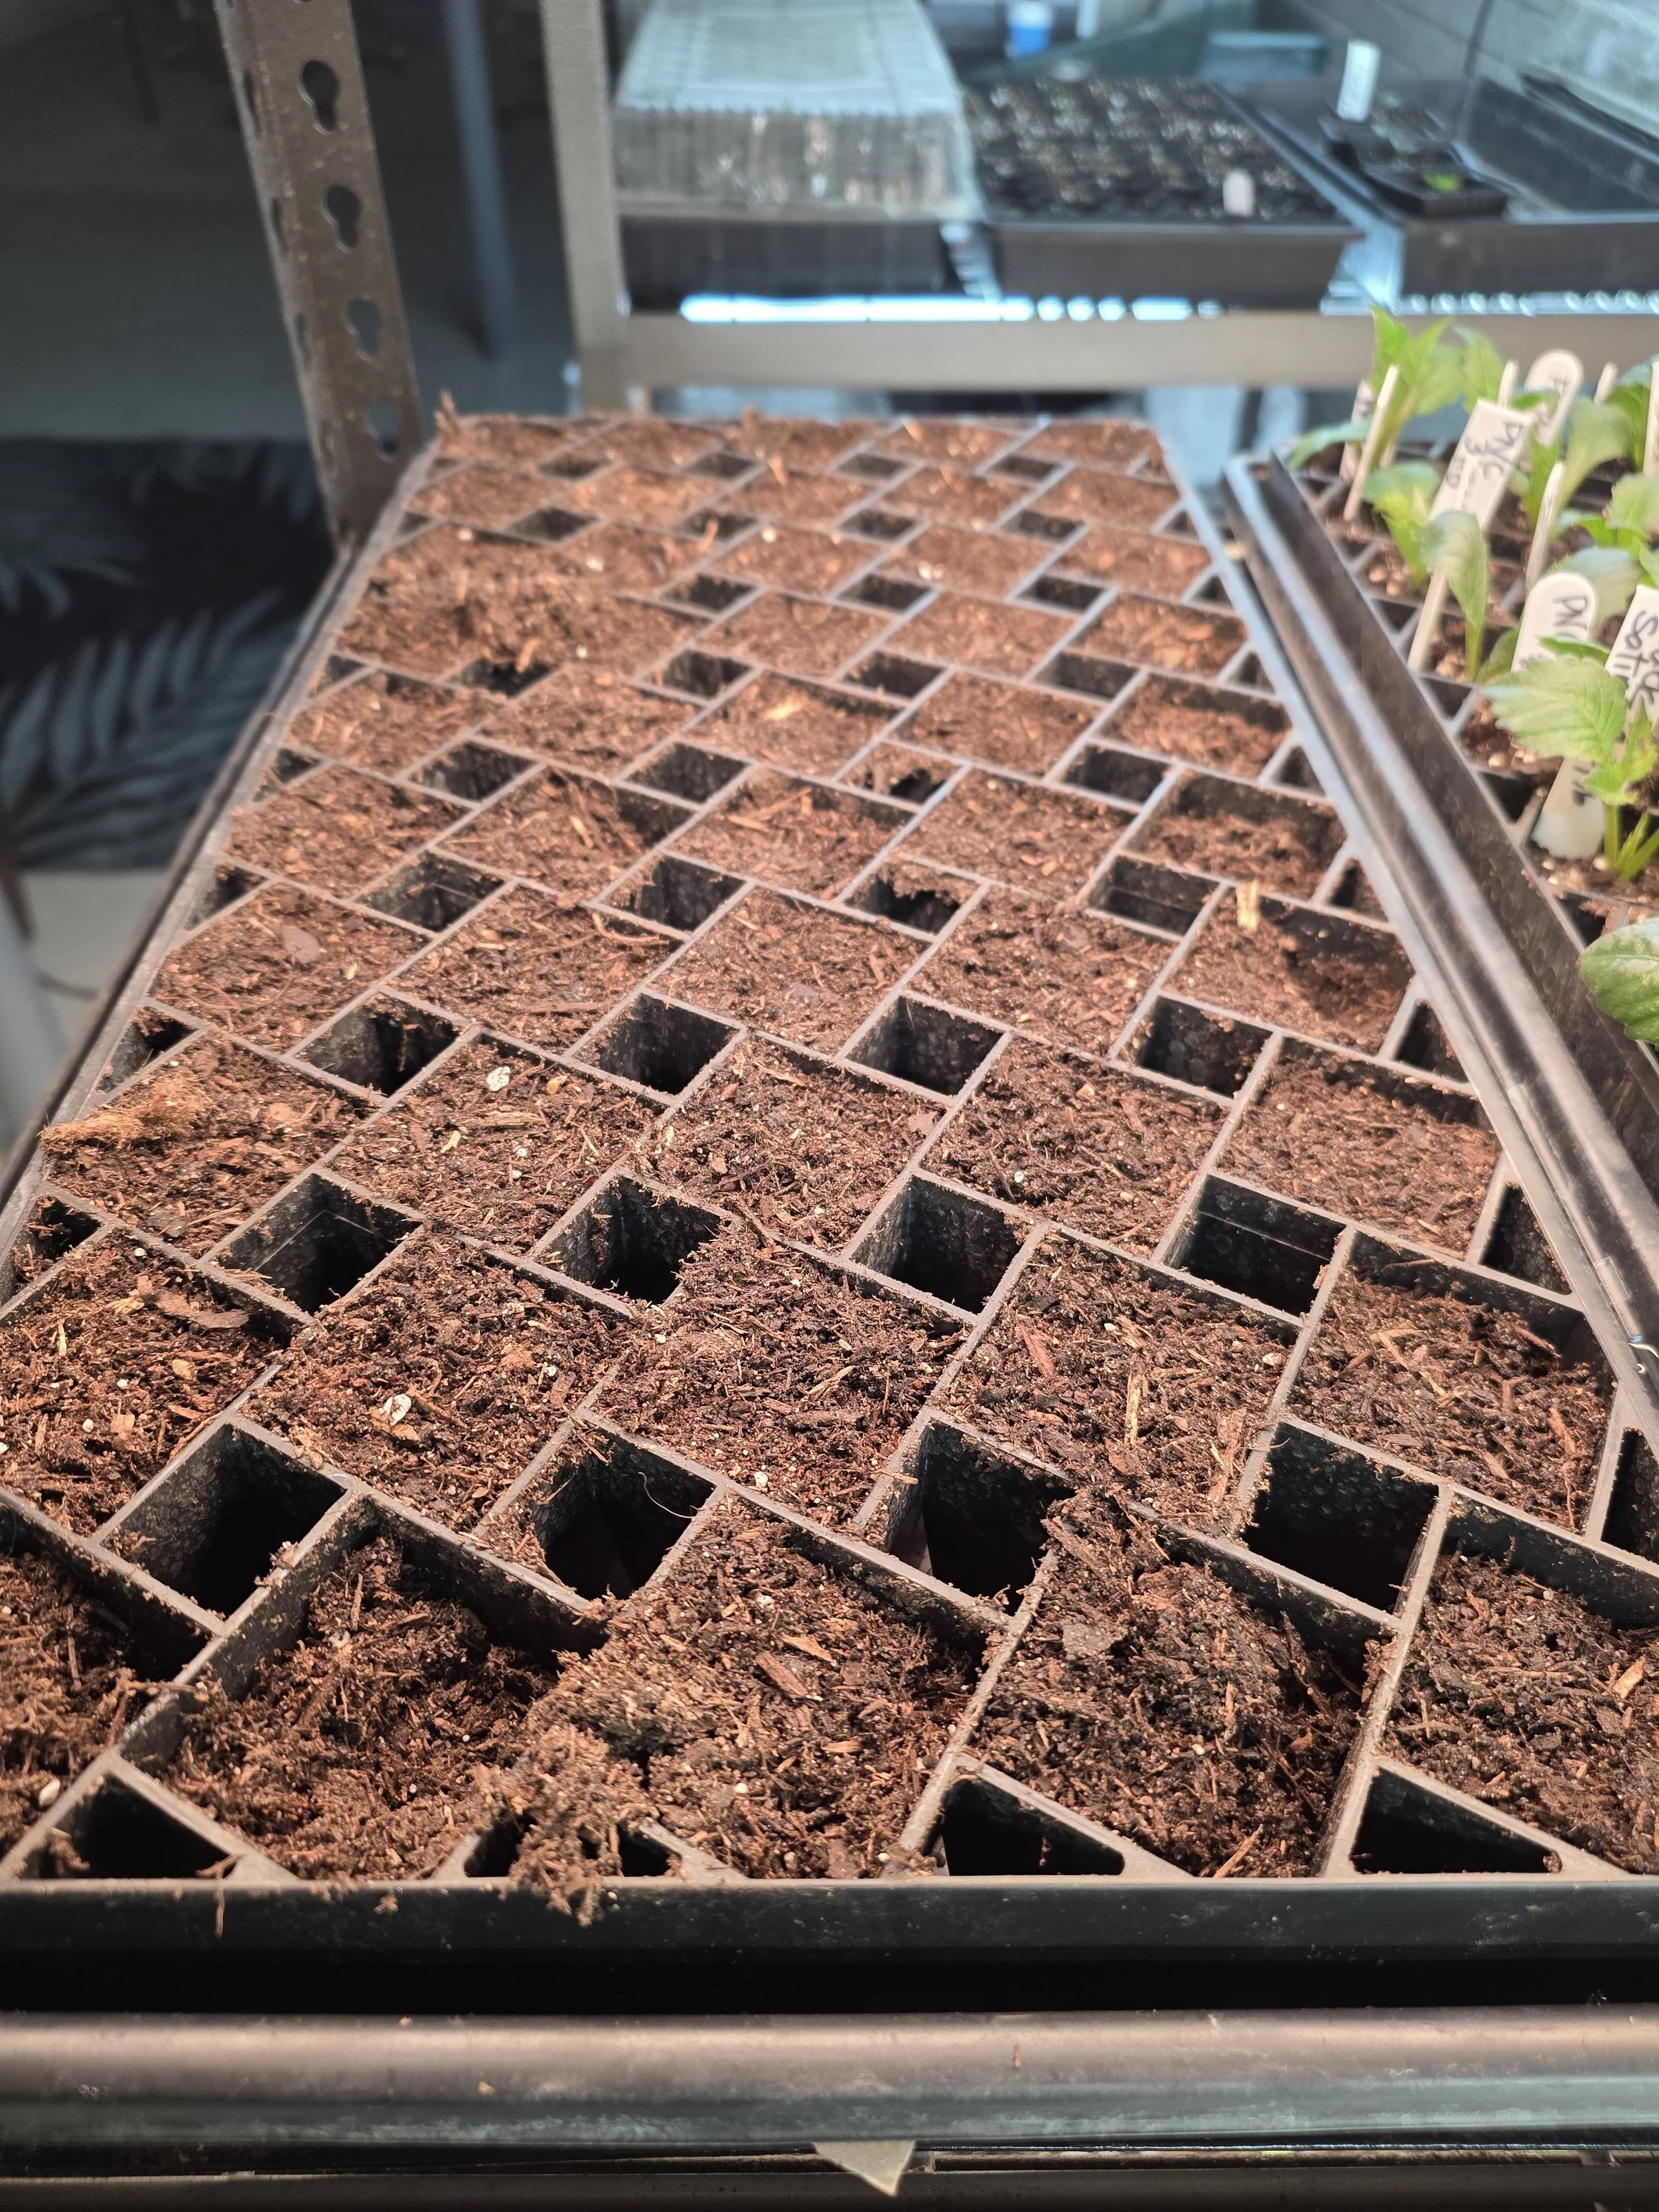
50 cell trays prepped for cuttings
Step 6 - Taking the cutting and start the propagation
Once you have your cutting, you must first strip the bottom set of leaves. This is where the cutting will start to root/ Next, place the cutting inside a cell with potting soil, making sure to bury the place on the cutting where the bottom leaves were stripped (the node). Then, transfer the plant tag used to identify the tuber in the pot, inside the cell with the cutting. Water the cell and spray the leaves with water. Finally cover the cell tray with a humidity dome.
Dahlia cutting before stripping bottom leaves.
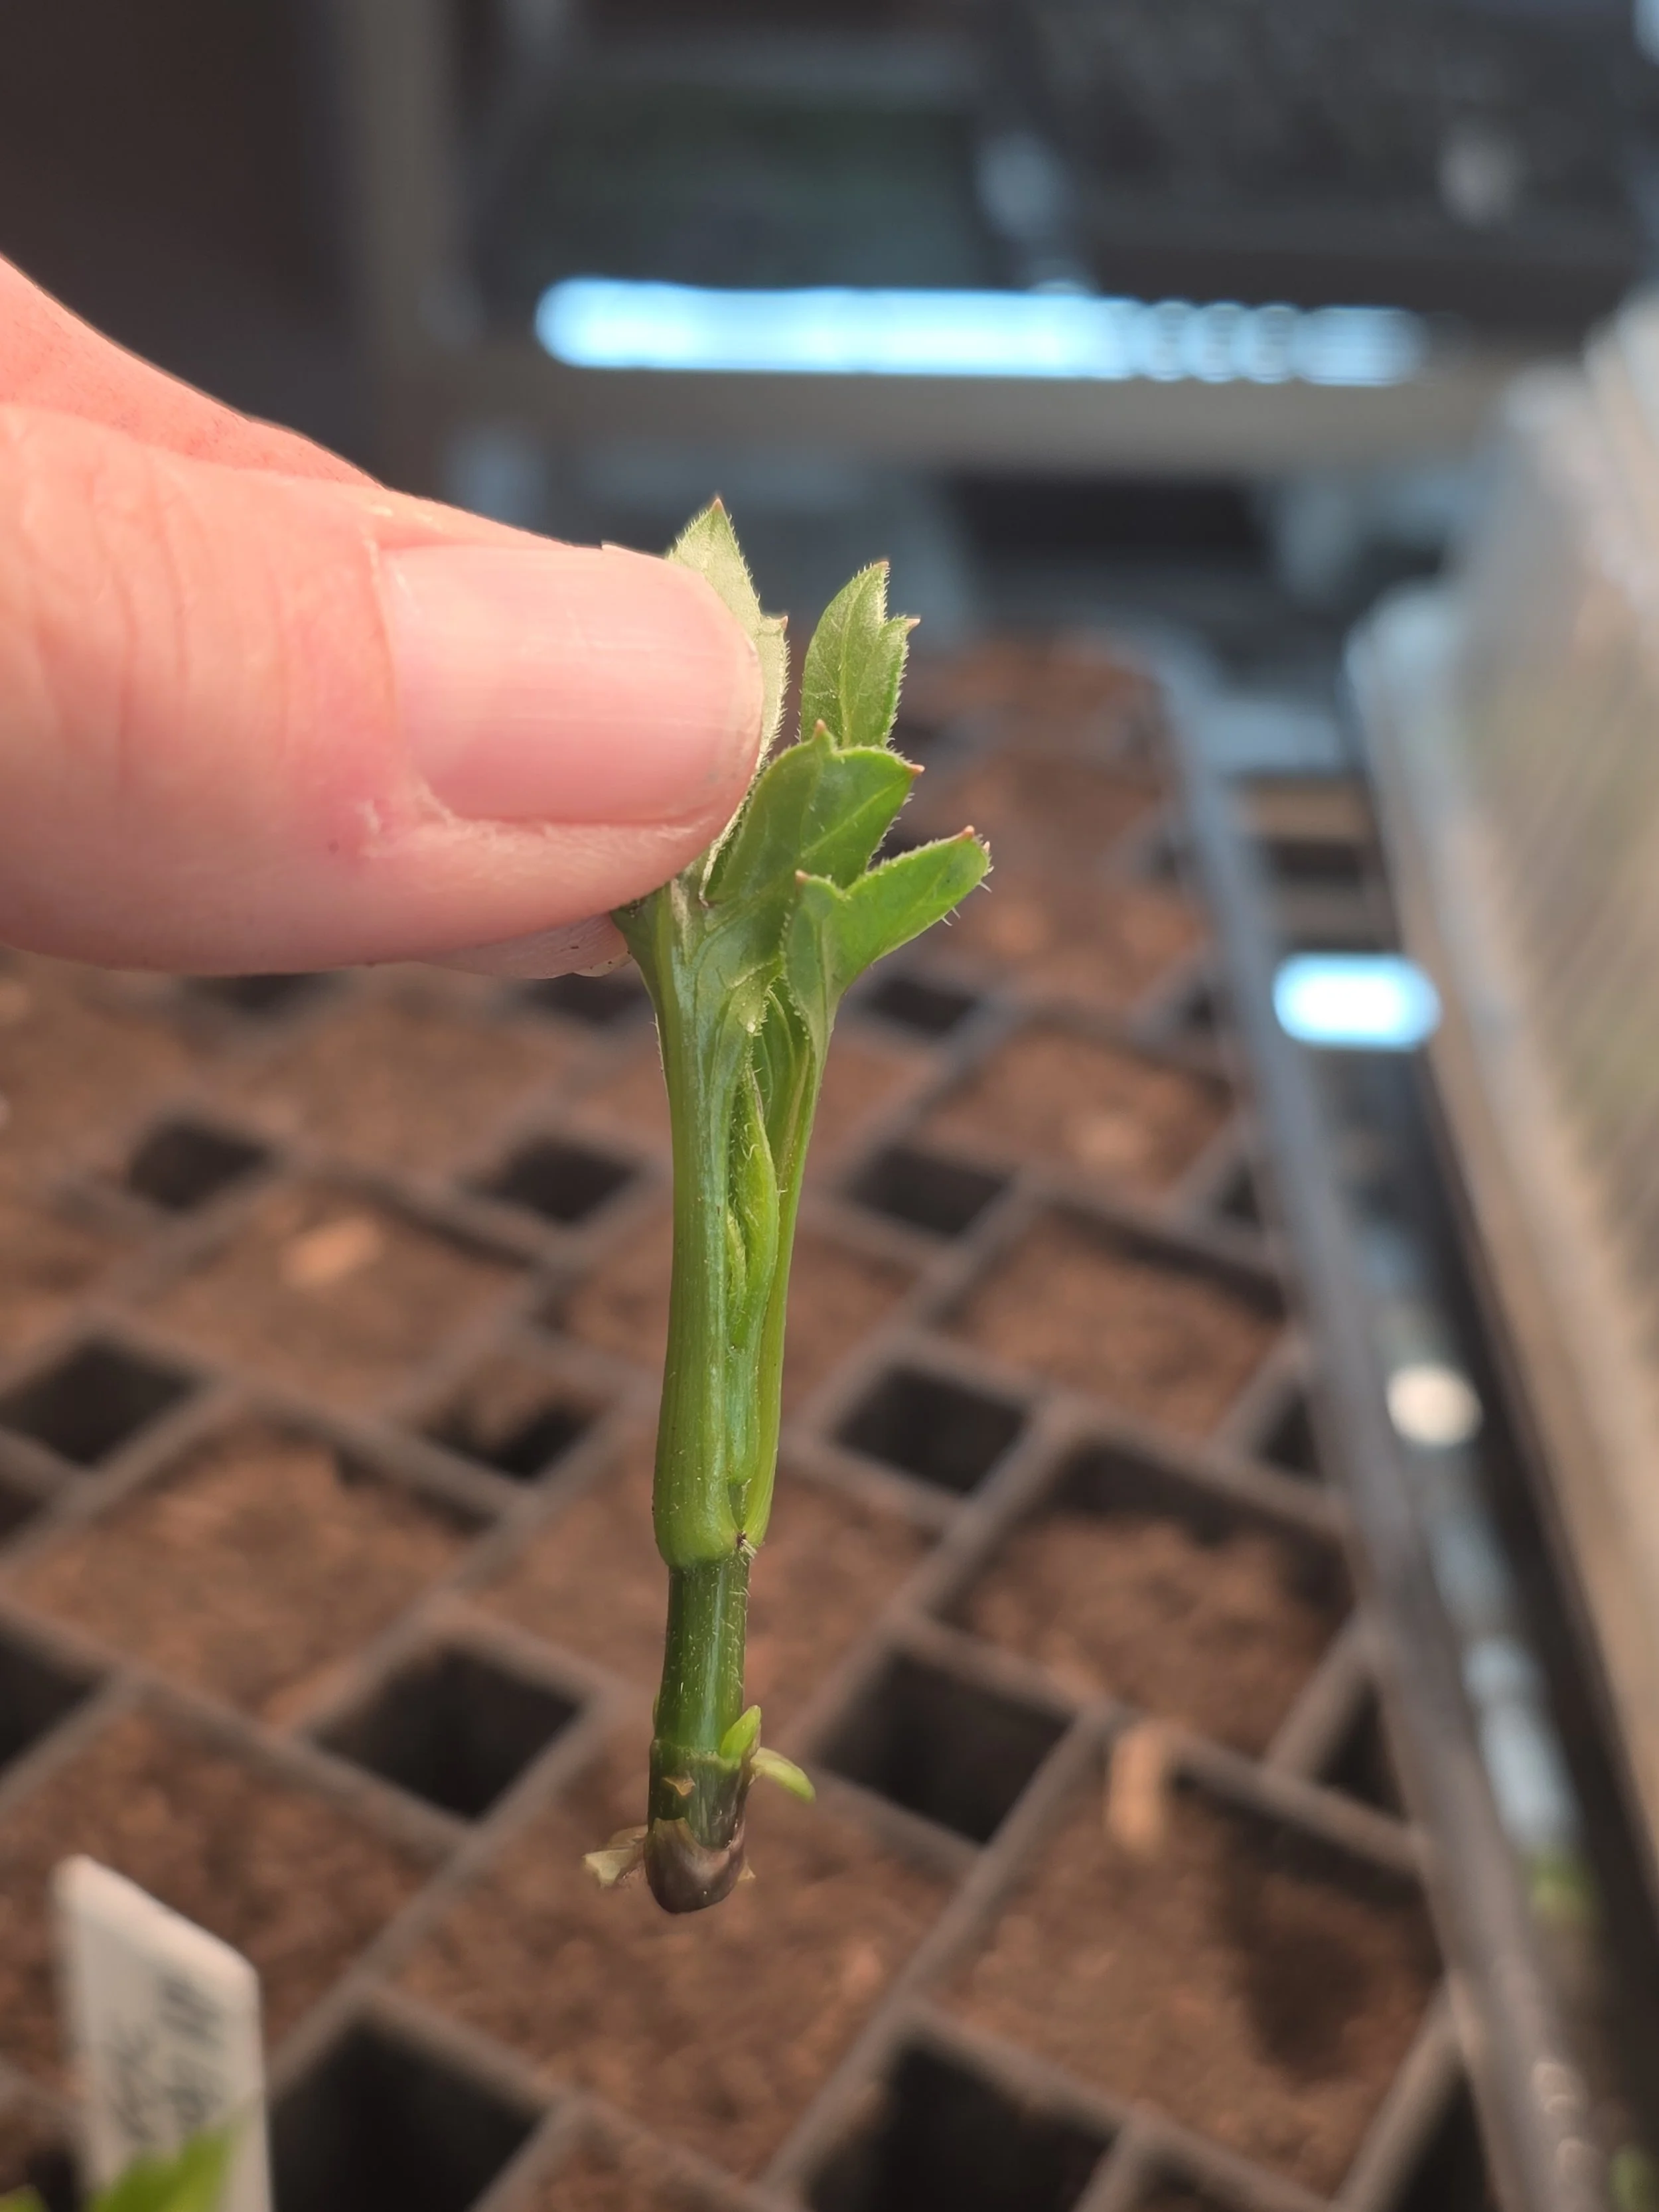
Dahlia cutting after stripping leaves
Step 7 - Letting your cutting grow roots
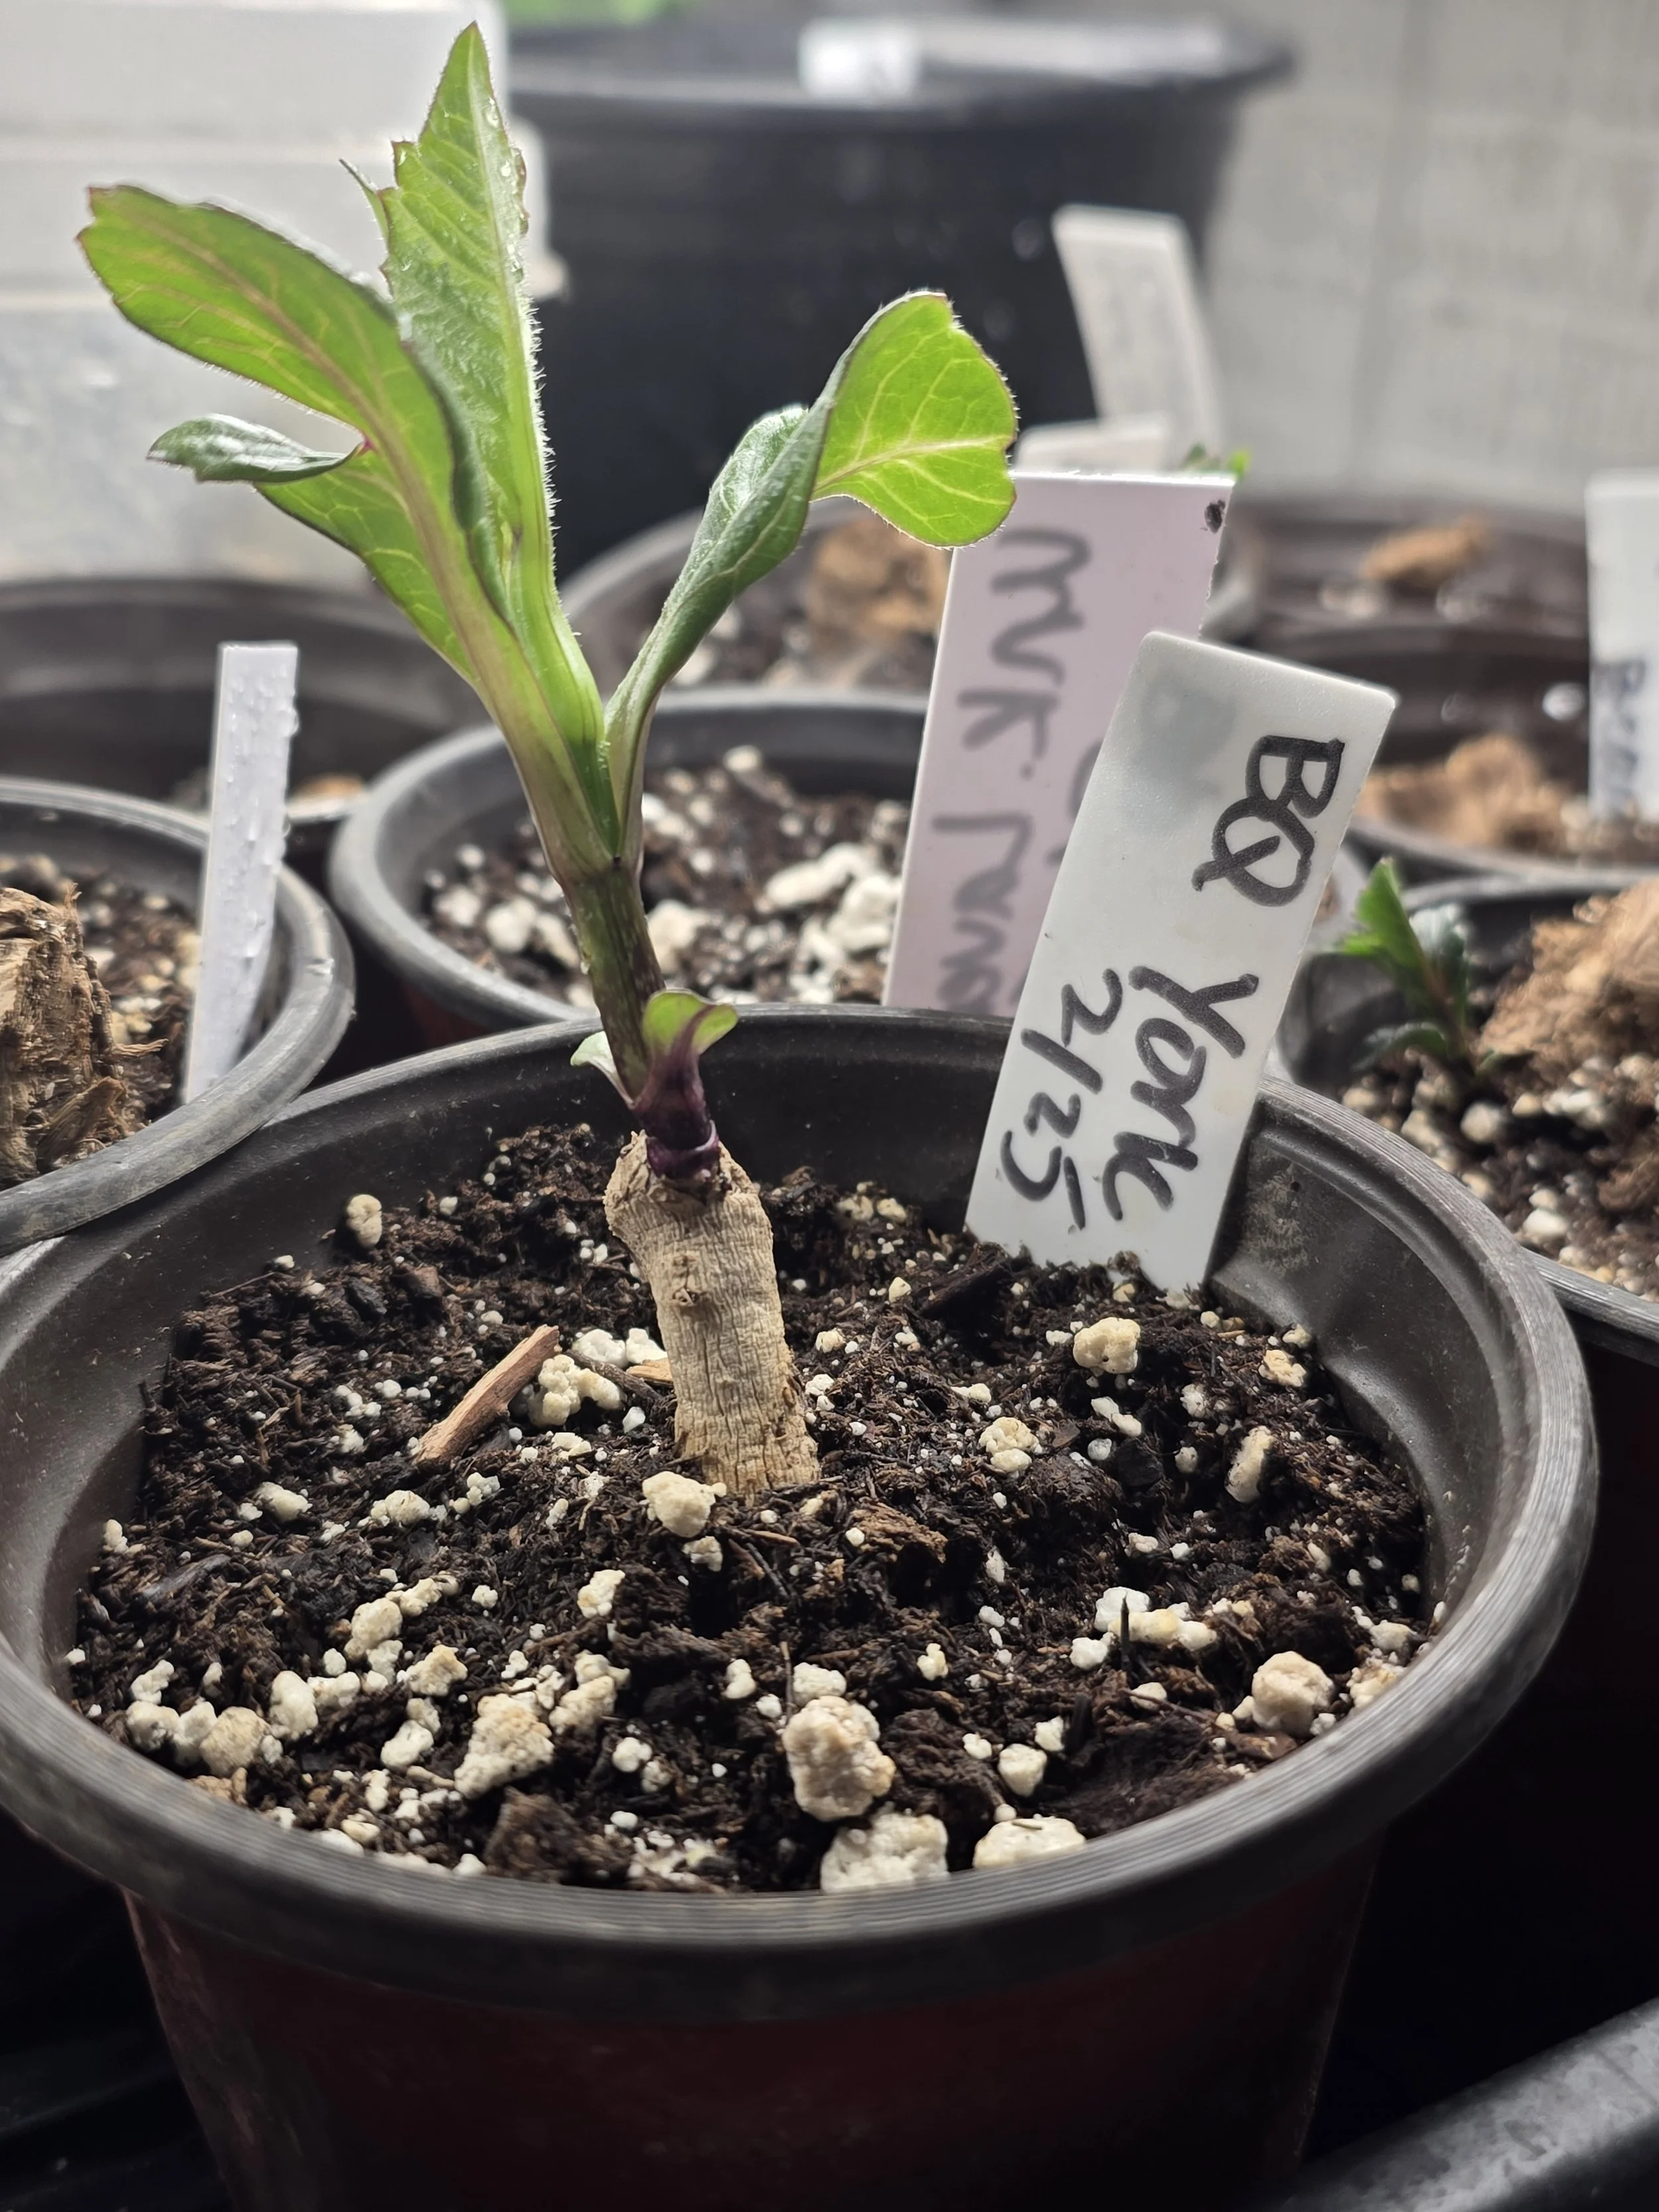
Once your cuttings are in potting soil, under lights, with a heat mat and a humidity dome, keeping the cuttings hydrated is absolutely key here. Spray your cuttings with water 1-3 times a day to keep them hydrated, and check the soil to ensure it is moist. While the soil must moist, and a humidy dome is placed over the tray, the environment can get TOO moist and the cuttings can die off. In my experience, you may lose some cuttings until you figure the right amount of humidity / water in the soil. It’s okay - even the best flower farmers still kill plants! :) Once you find the best environment, you’re in the sweet spot. It takes at least a few weeks, but your cuttings will root. Once they do (you can see by checking the bottom for roots coming out), they need to be transferred again to a 4 inch pot (or similiar). After transferring them to a pot, for the first 24 hours, do not put them under lights, let the transferred cutting acclimate to its new home. After a day, it can go under lights and continue to grow. Congratulations, you made a new plant! Be careful, you may become addicted to the process.
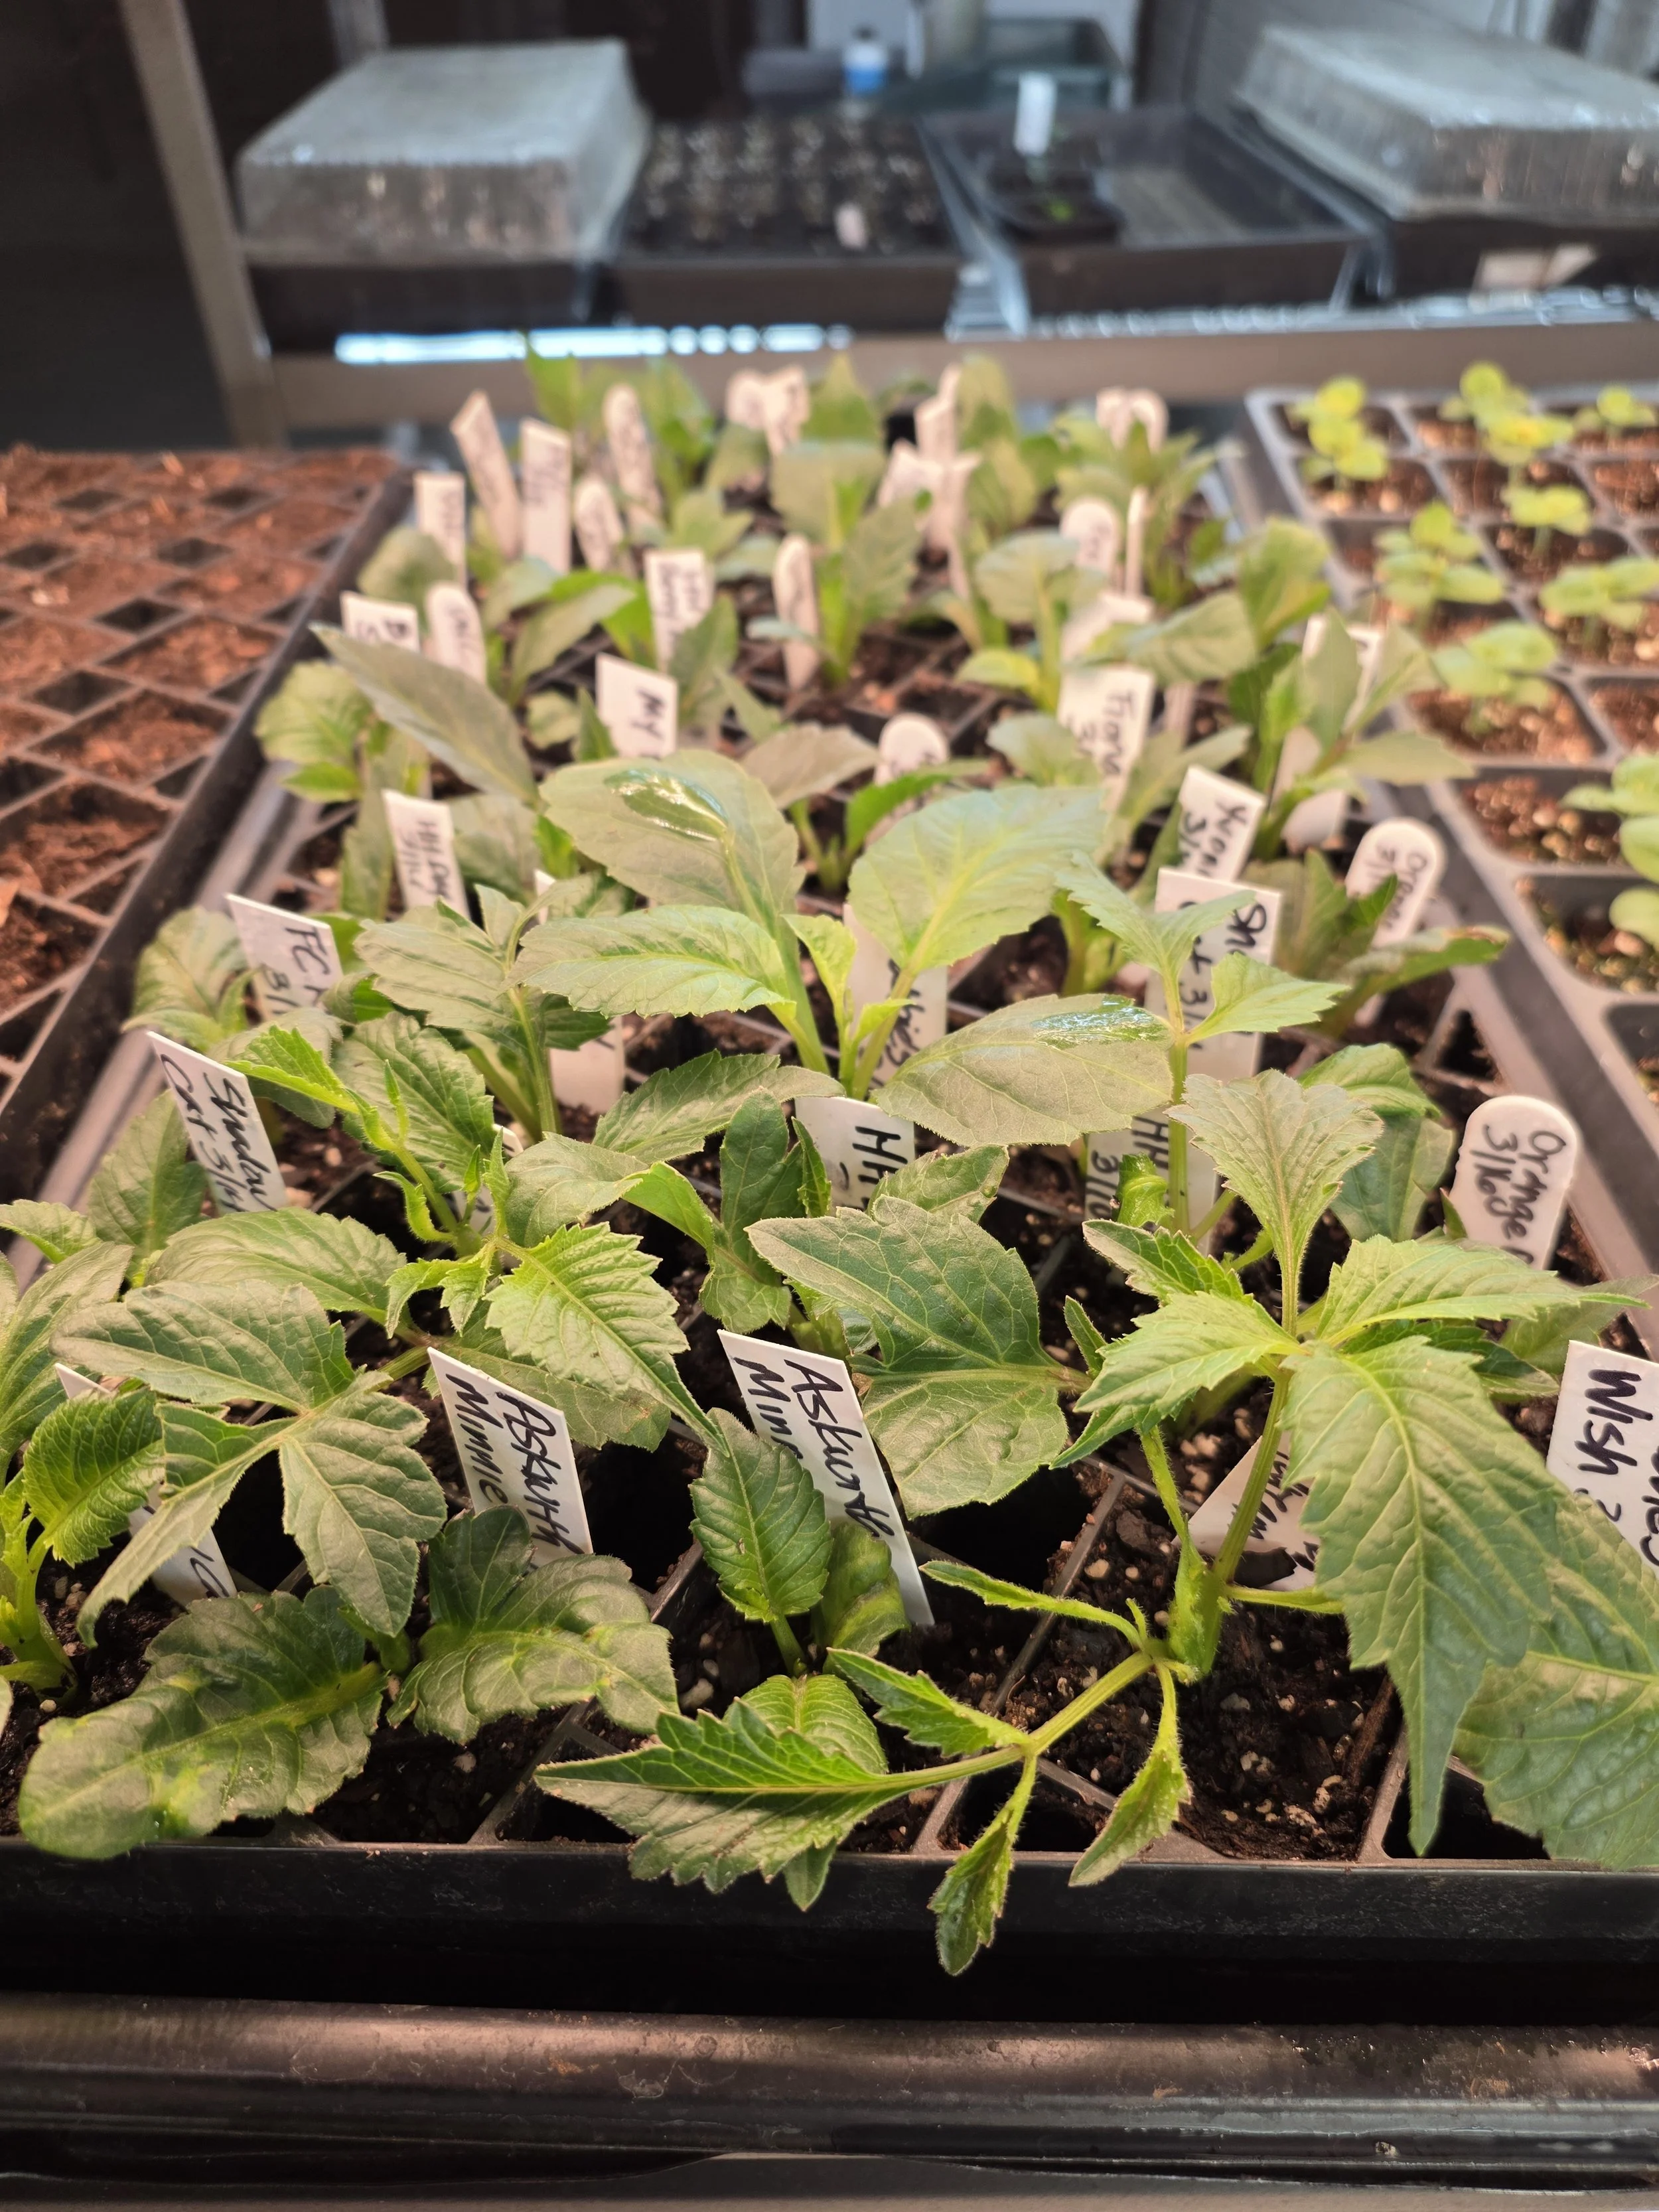
Dahlia cuttings in a tray. Cuttings are about 10 days old and have grown.
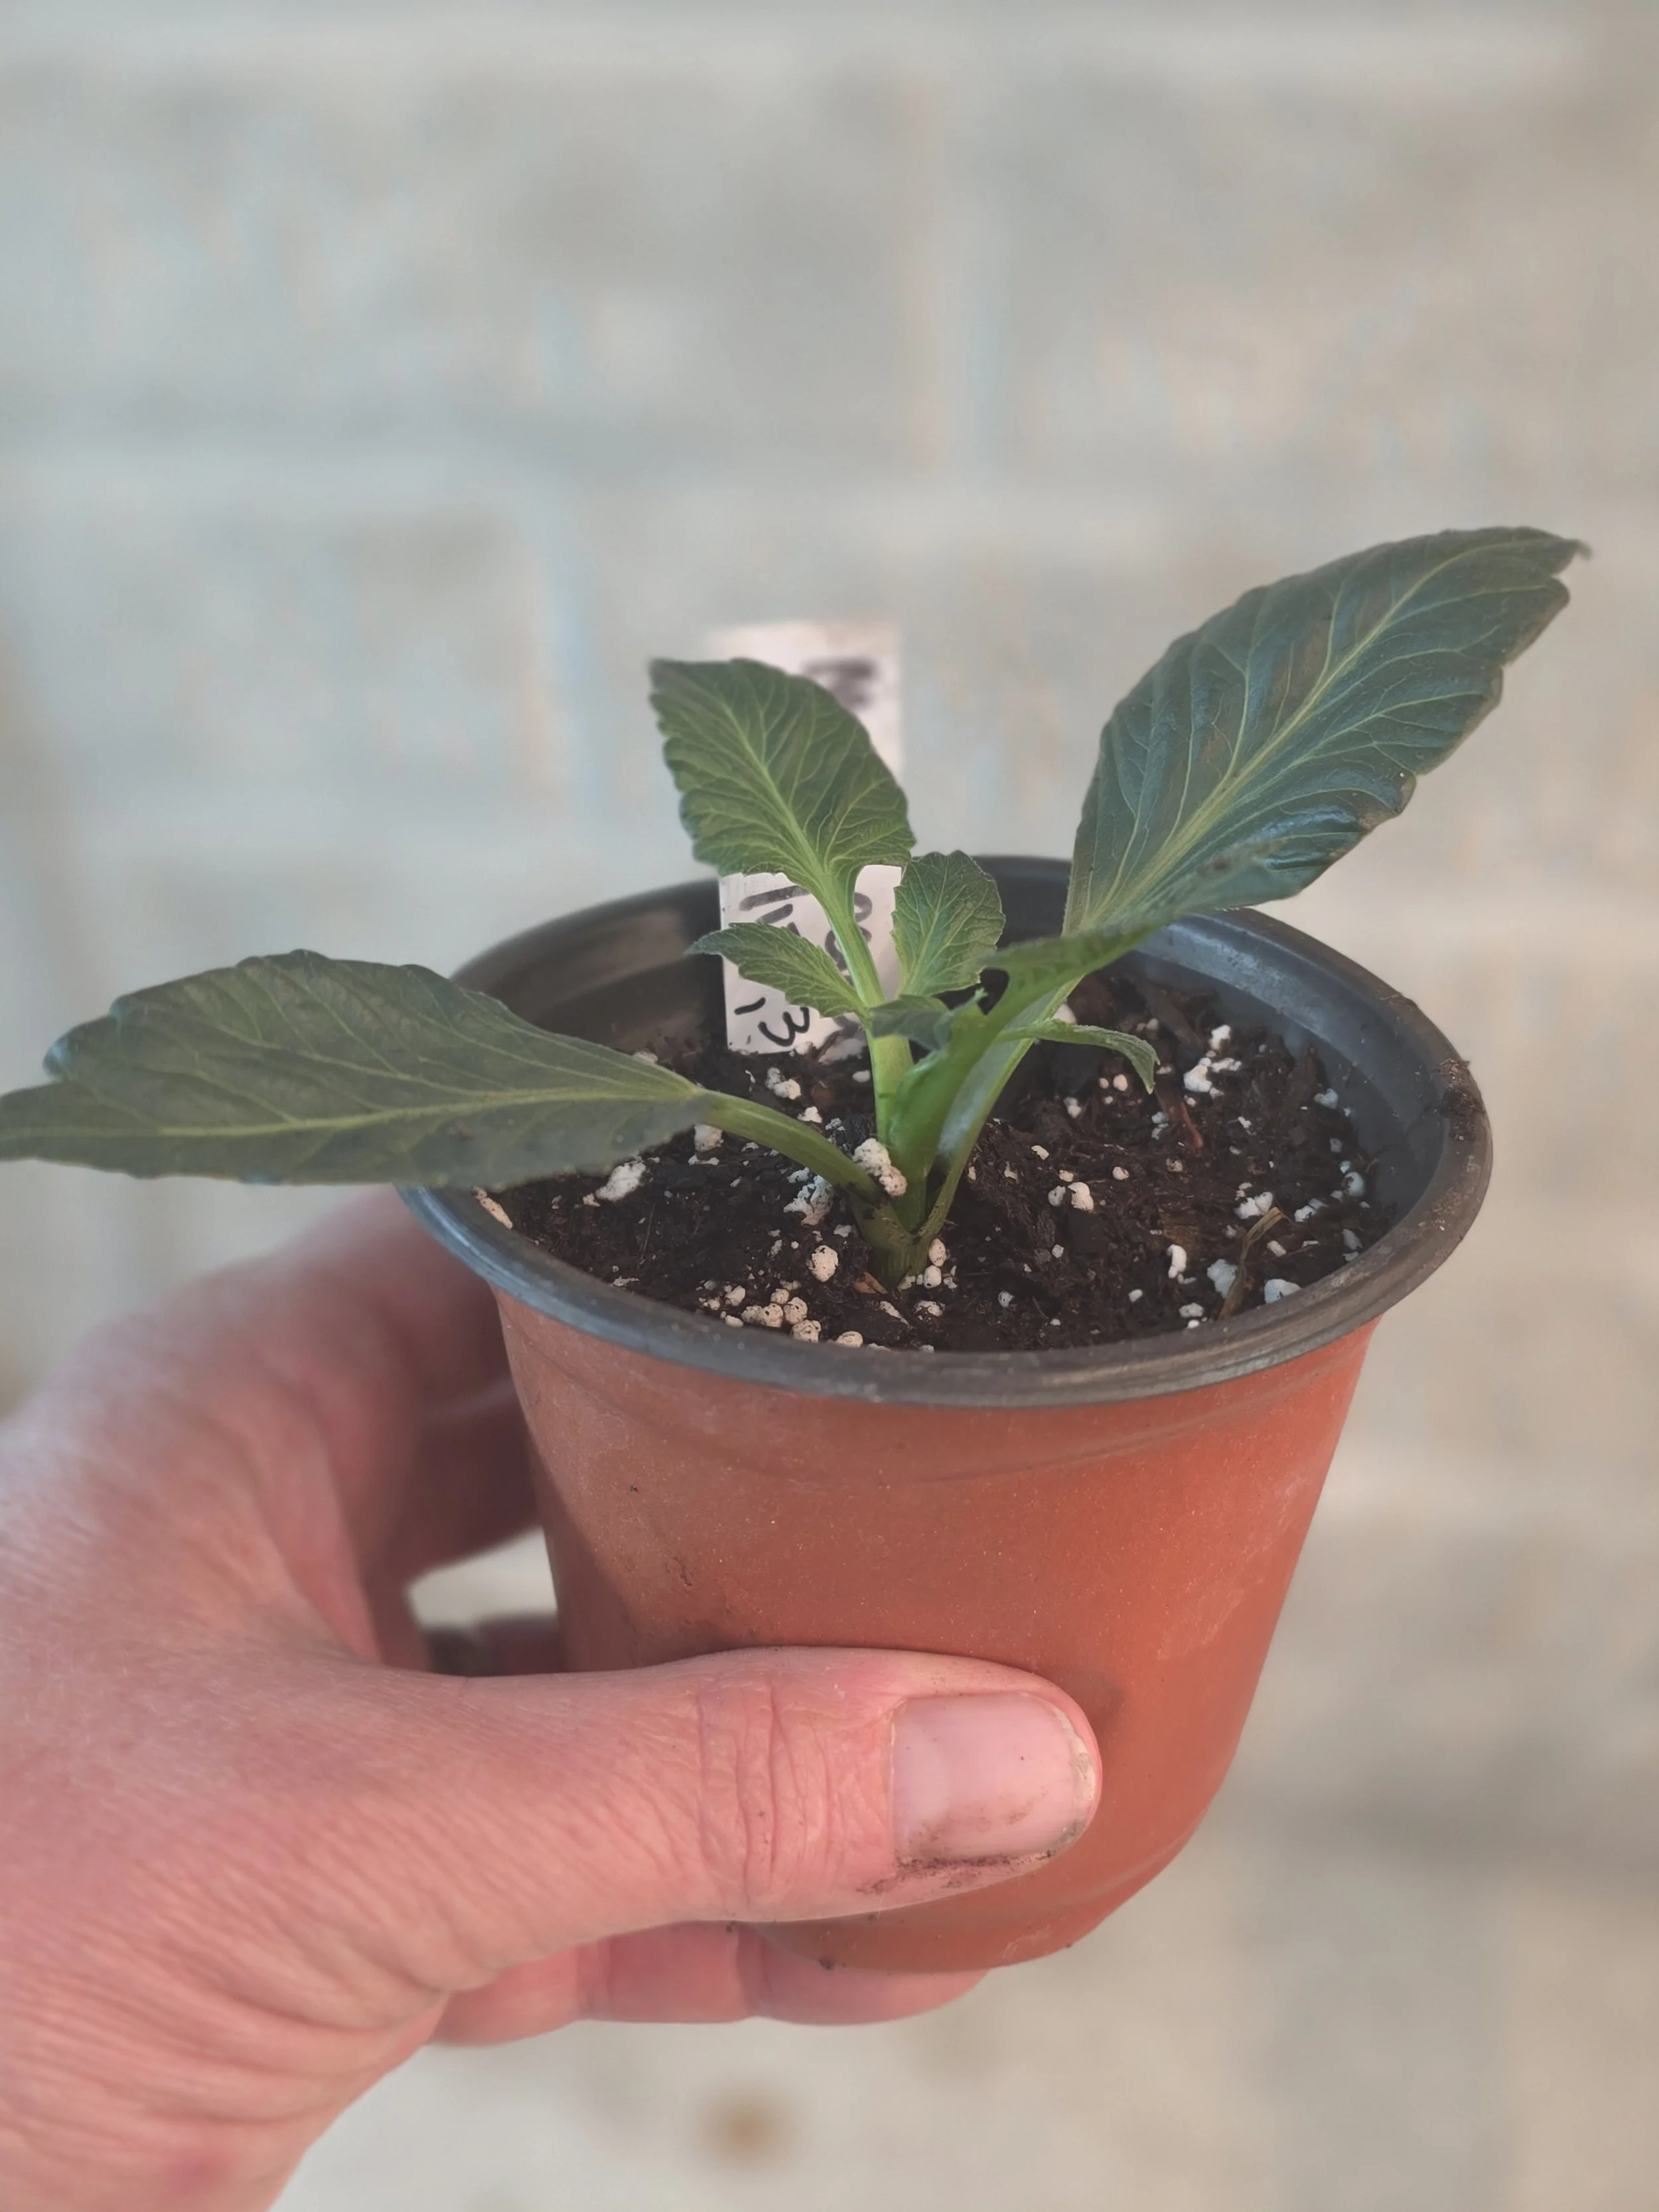
A cutting that has rooted and then transferred to a 4 inch pot