Preparing to dig your dahlias this fall: what you need to know now
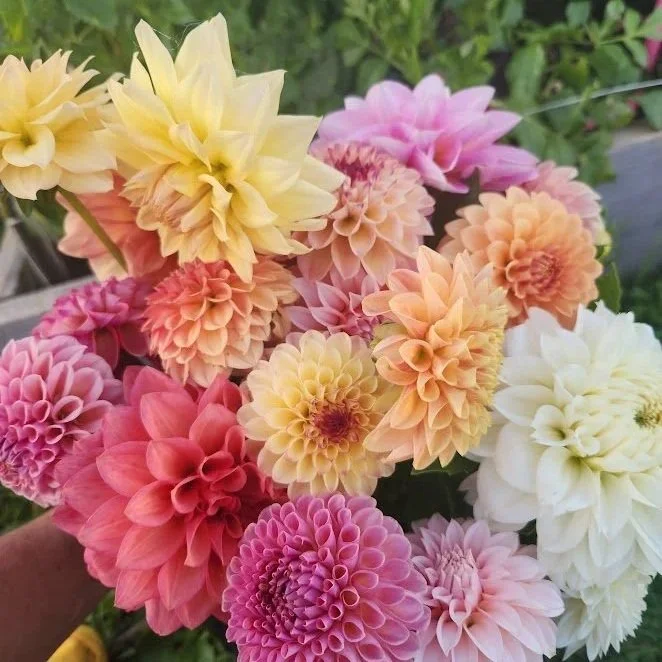
Dahlias need 120 days in the ground before they can be dug up for tuber removal and storage. If you live in a mild climate, you may opt to leave them in the ground. Here in Zone 5, in southeast Wisconsin, we dip below freezing towards the end of October and have a long cold winter. Therefore, digging is a necessity is you want to save your tubers for next year!
Our dahlia tubers were planted in mid-May, and we are starting to plan to start to dig at the end of October. This gives us enough time to dig over 700 plants before it is absolutely freezing outside! A few days before we dig, we cut off the plant’s branches to 4 inches or so from the ground. Here’s the pruner tool that we love and use to cut through thick stems.
A quick note that we clean and divide our tubers for winter storage - other growers may store them in dirt either in clump form or singly. Since we clean and divide, the following guide is in reference to our own protocol.
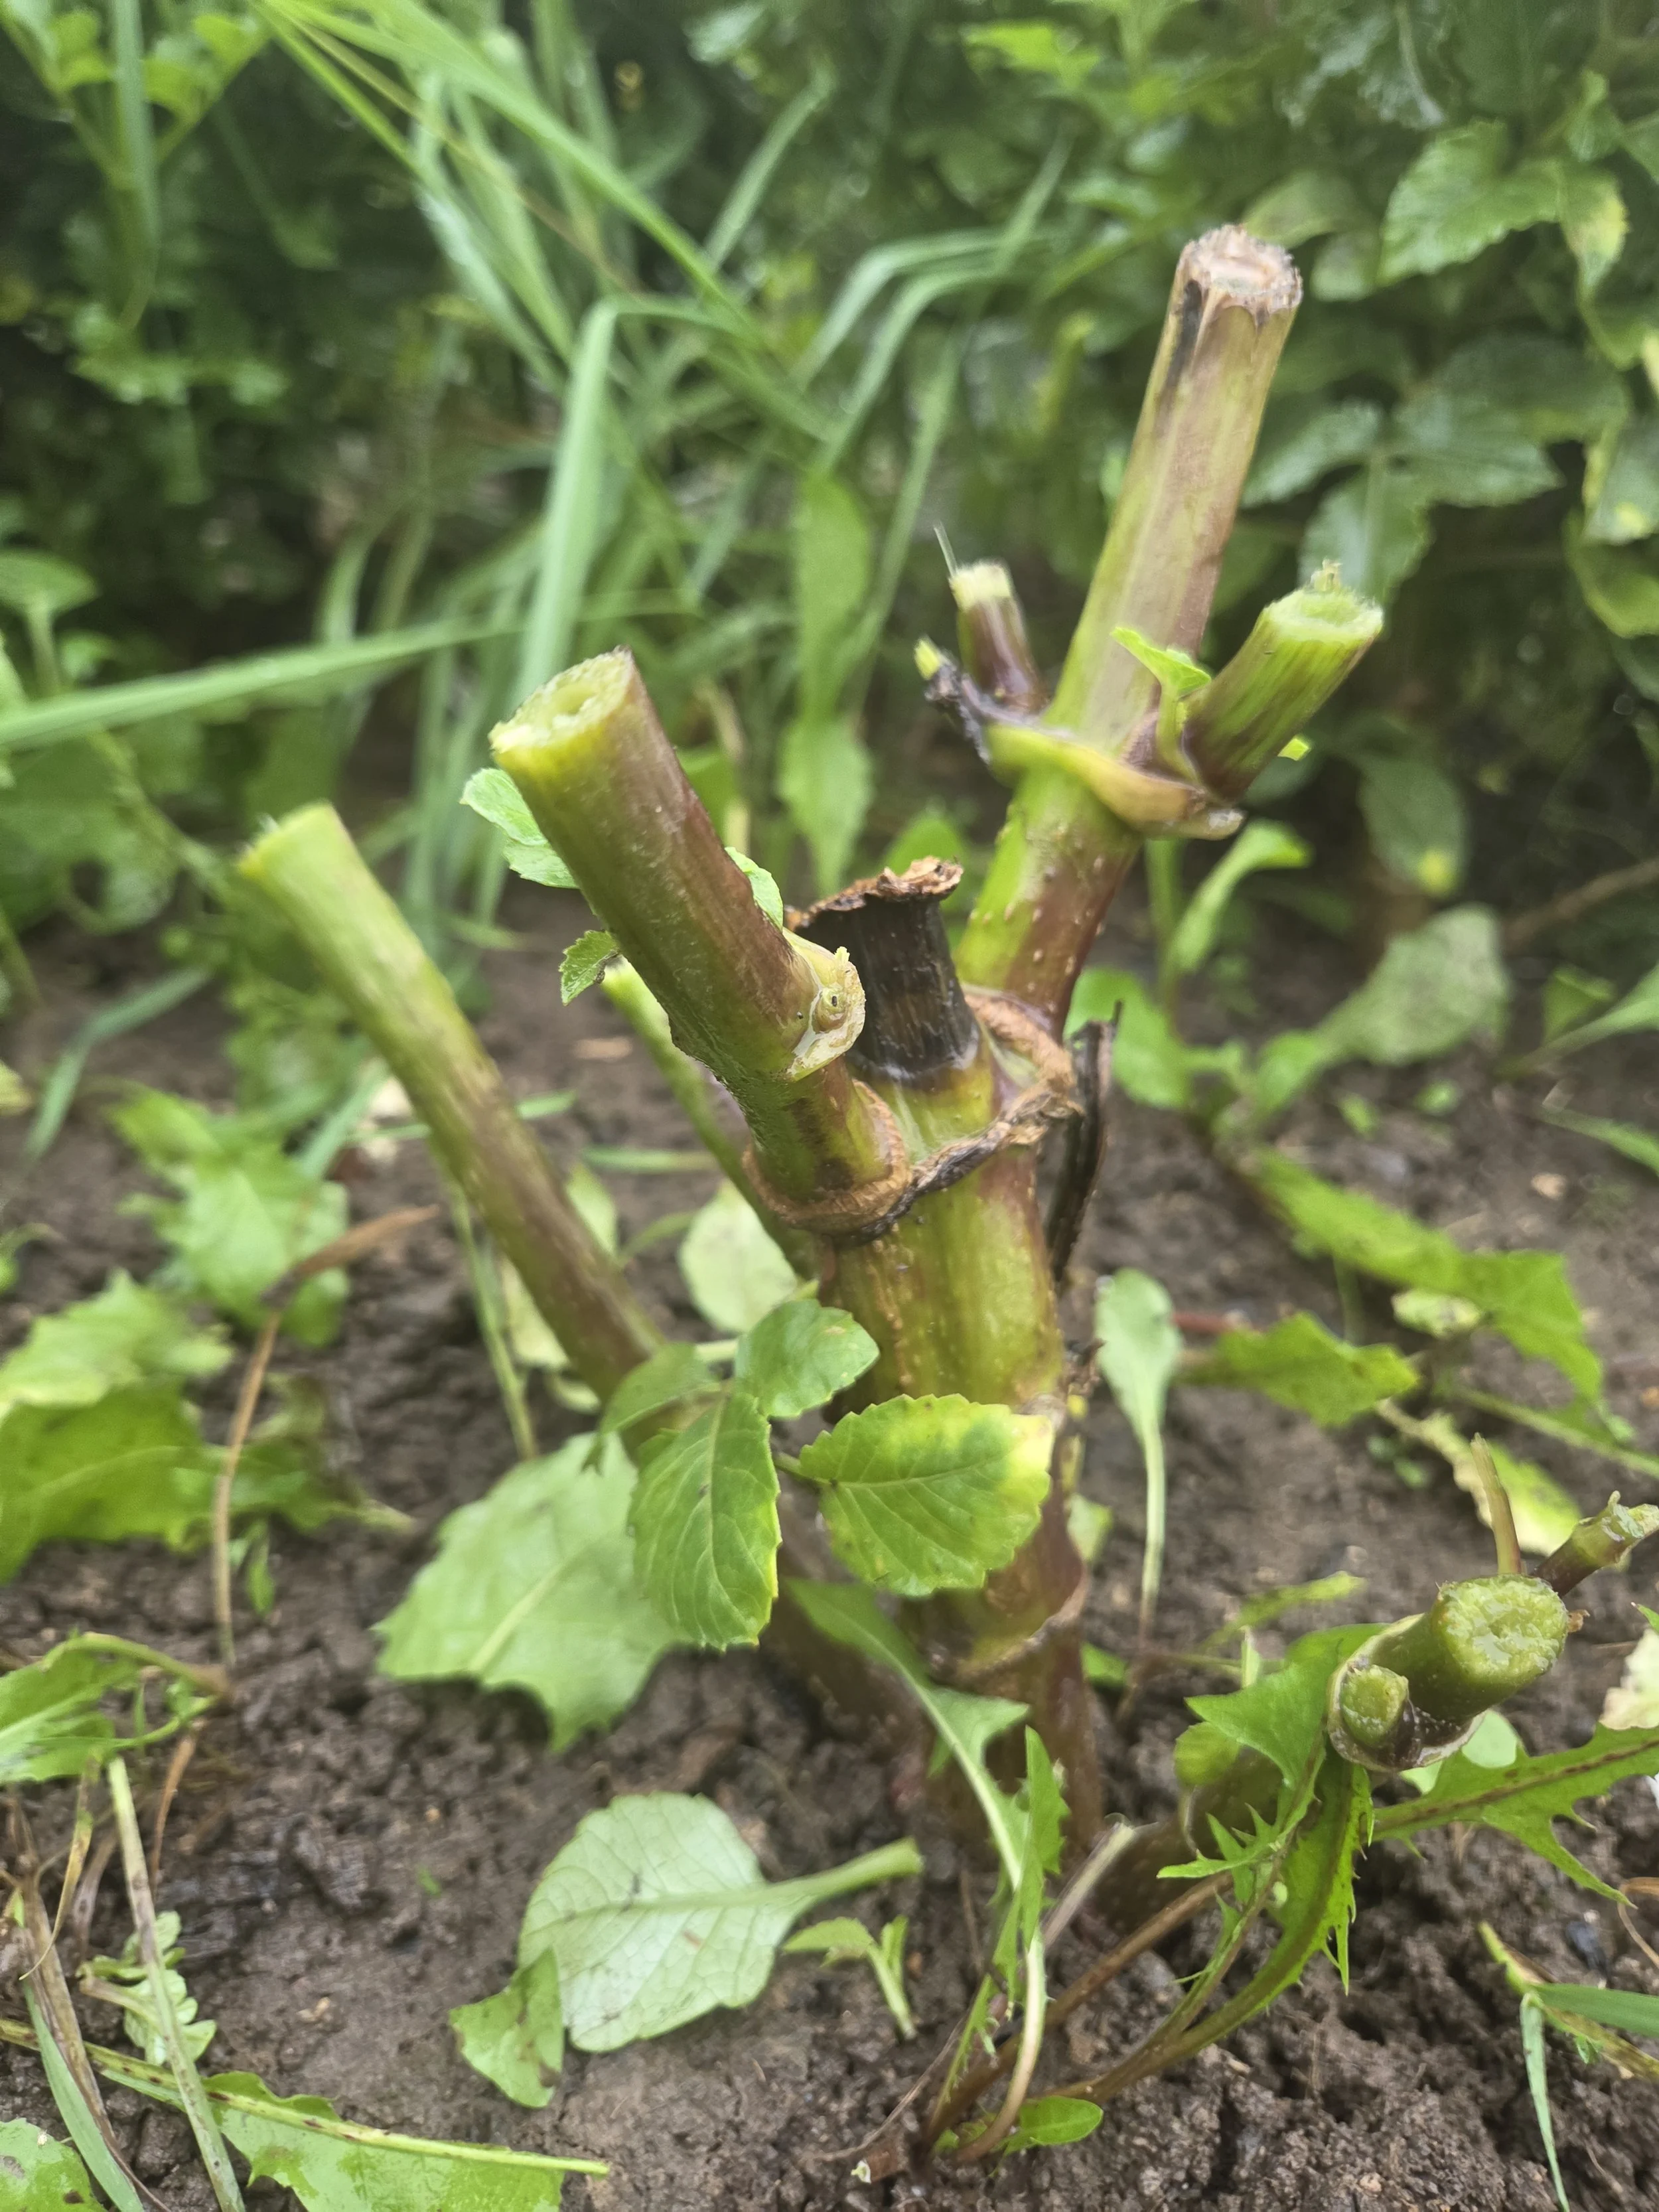
Dahlia plant that has been cut to prepare for digging
Tools you will need to dig:
Pitchfork - reduces the risk of slicing a tuber with a shovel when digging
Hose nozzle with a high power option - all dirt doesn’t easily wash off. You need strong water pressure - so ensure you hose nozzle has one!
A bin or other storage box to hold and transport multiple tuber clumps.
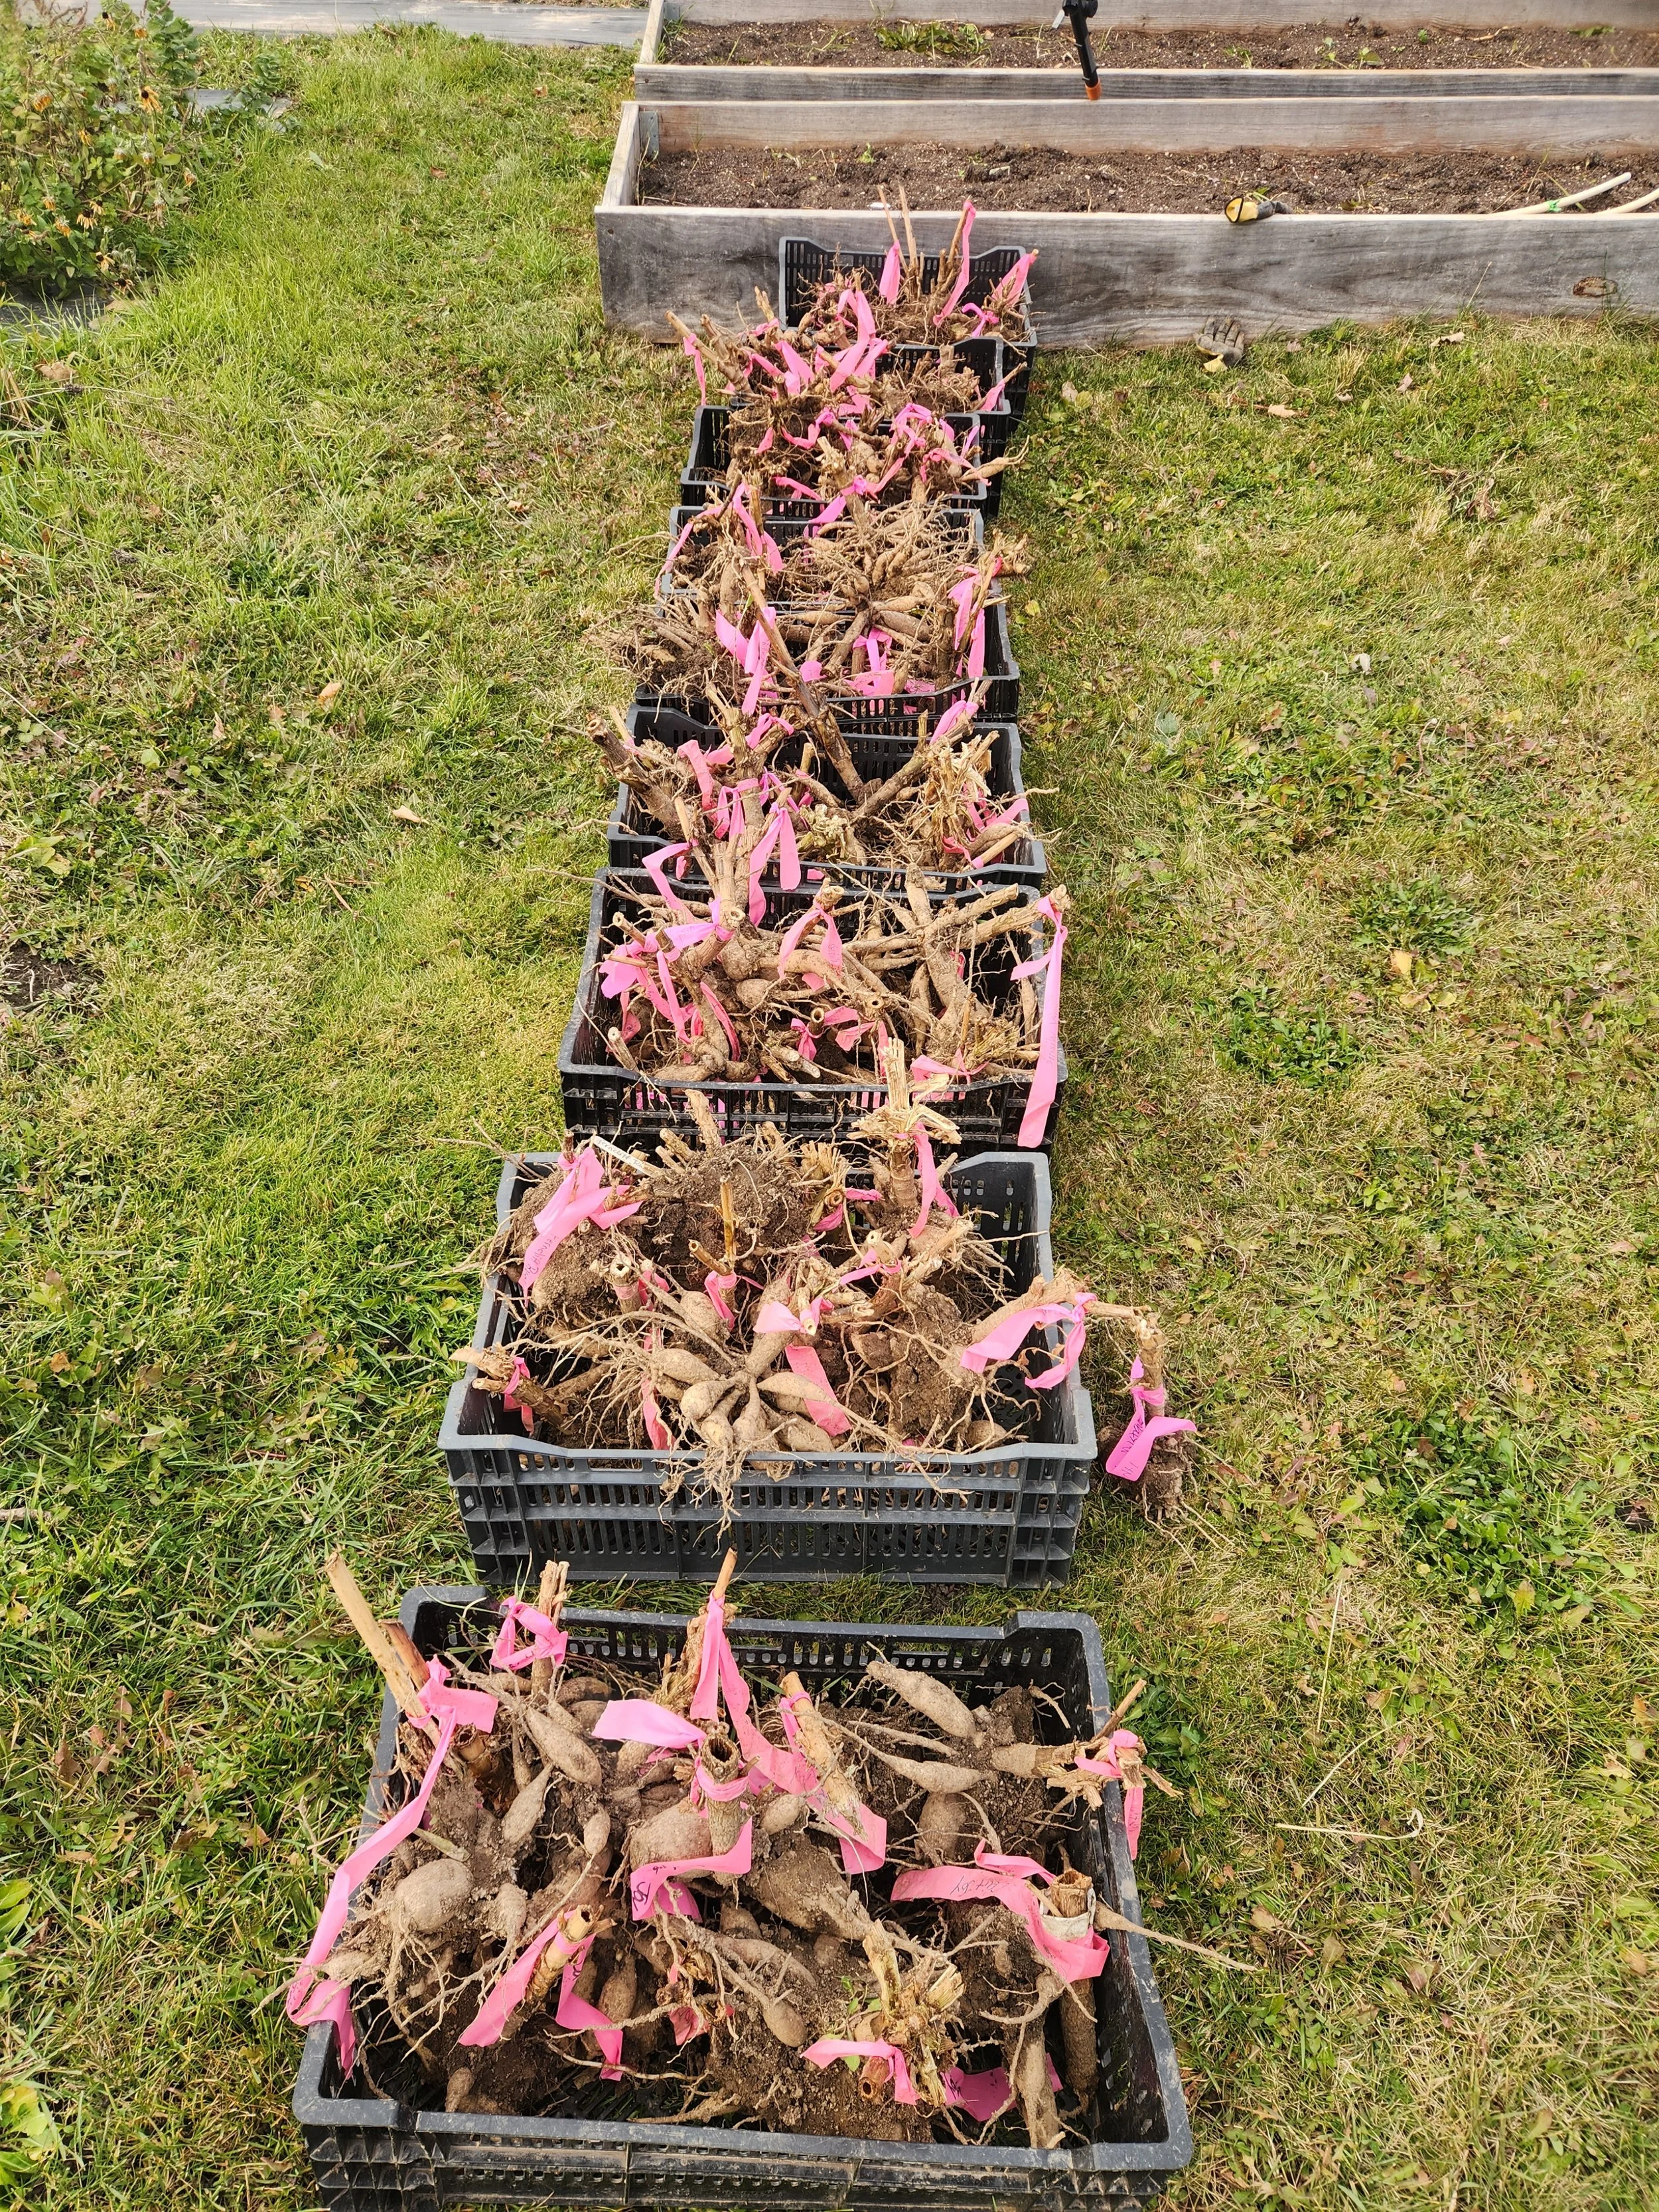
Old tulip crate bins to haul tuber clumps in
The next step will be dividing and labeling your tubers. There are different means to do this - here’s the tools we use to get it done
We divide our tubers using floral shears - these are very pointy, and very sharp, just what is needed for cutting through some of the tops of thick tubers clumps. The pointy-ness is also helpful when slicing between tubers where eyes are close and precision is needed.
We use a garden marker for writing directly on the tubers each individual name.
Find the shears here and the garden pen here
The next most important thing to decide before digging is HOW you will store your tubers. Some people use the saran wrap method, peat moss, vermiculite, or store them in their own dirt. We store them in medium coarse vermiculite, in plastic labeled bins, in a refrigerator. Medium coarseness vermiculite allows a little more breathability in the containers.
You can buy vermiculite at Greenhouse Megastore, Home Depot, or Lowe’s to name a few places
Now WHERE will you store them?
First, it is highly recommended that tubers be stored between 40 and 50 degrees, with humidity between 80-90%. We store ours in a refrigerator with the temp setting at 42 or so. Some people opt for wine coolers due to their high humidy. Some people use an unheated basement. Some people say, ‘I threw them in a bag, forgot about them and it was fine’. And that IS fine. But when you store hundred and thousands of tubers, for us that is not an option :)
A note that if you are using a refrigerator for storage, and your weather goes below freezing during the winter, do not keep the refrigerator in your garage or elsewhere that is unheated. A refrigerator can’t keep the temperature above freezing if the temperature around it is below 32 degrees.
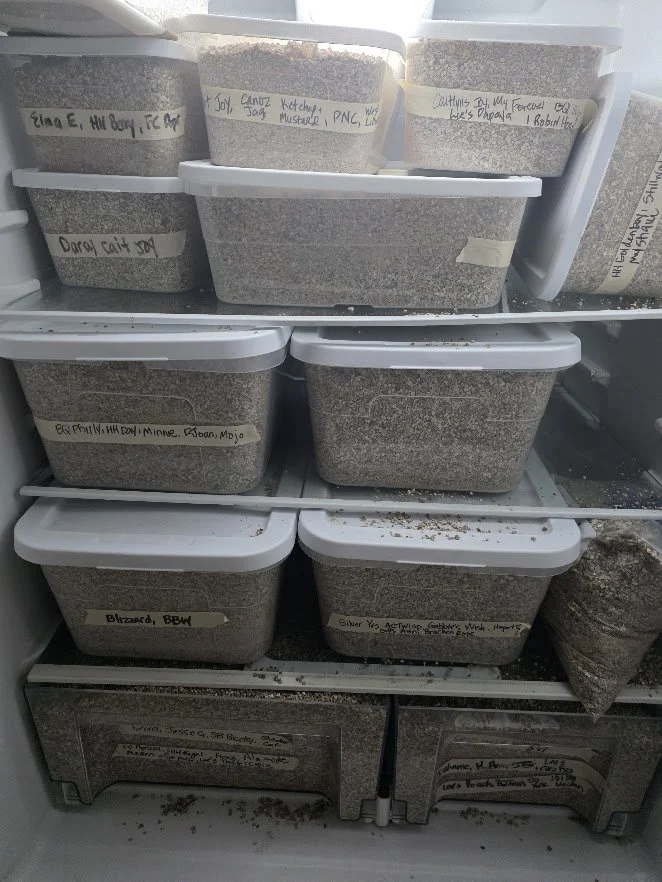
Dahlia tubers stored in plastic bins in a refrigerator. We also stick in a small temperature gauge to monitor the temperature
In sum, here’s all the tools you will need for tuber removal and storage:
A hand-held pruner
Pitchfork
Hose attachment with a high pressure option
Bins or other container to store tuber clumps as you are digging
Storage medium - we use medium coarse vermiculite
Floral shears
Garden marker
Small temperature gauge
Plastic bins for storing tubers
If it is your first year, give yourself grace as you navigate what’s best for you. Also know that some tubers don’t store well, so even if you give it the most ideal conditions, you may still find it starting to shrivel or even shrivel up terribly. That being said, we still plant most shriveled tubers with much success. We just don’t sell those ones :)
Good luck!